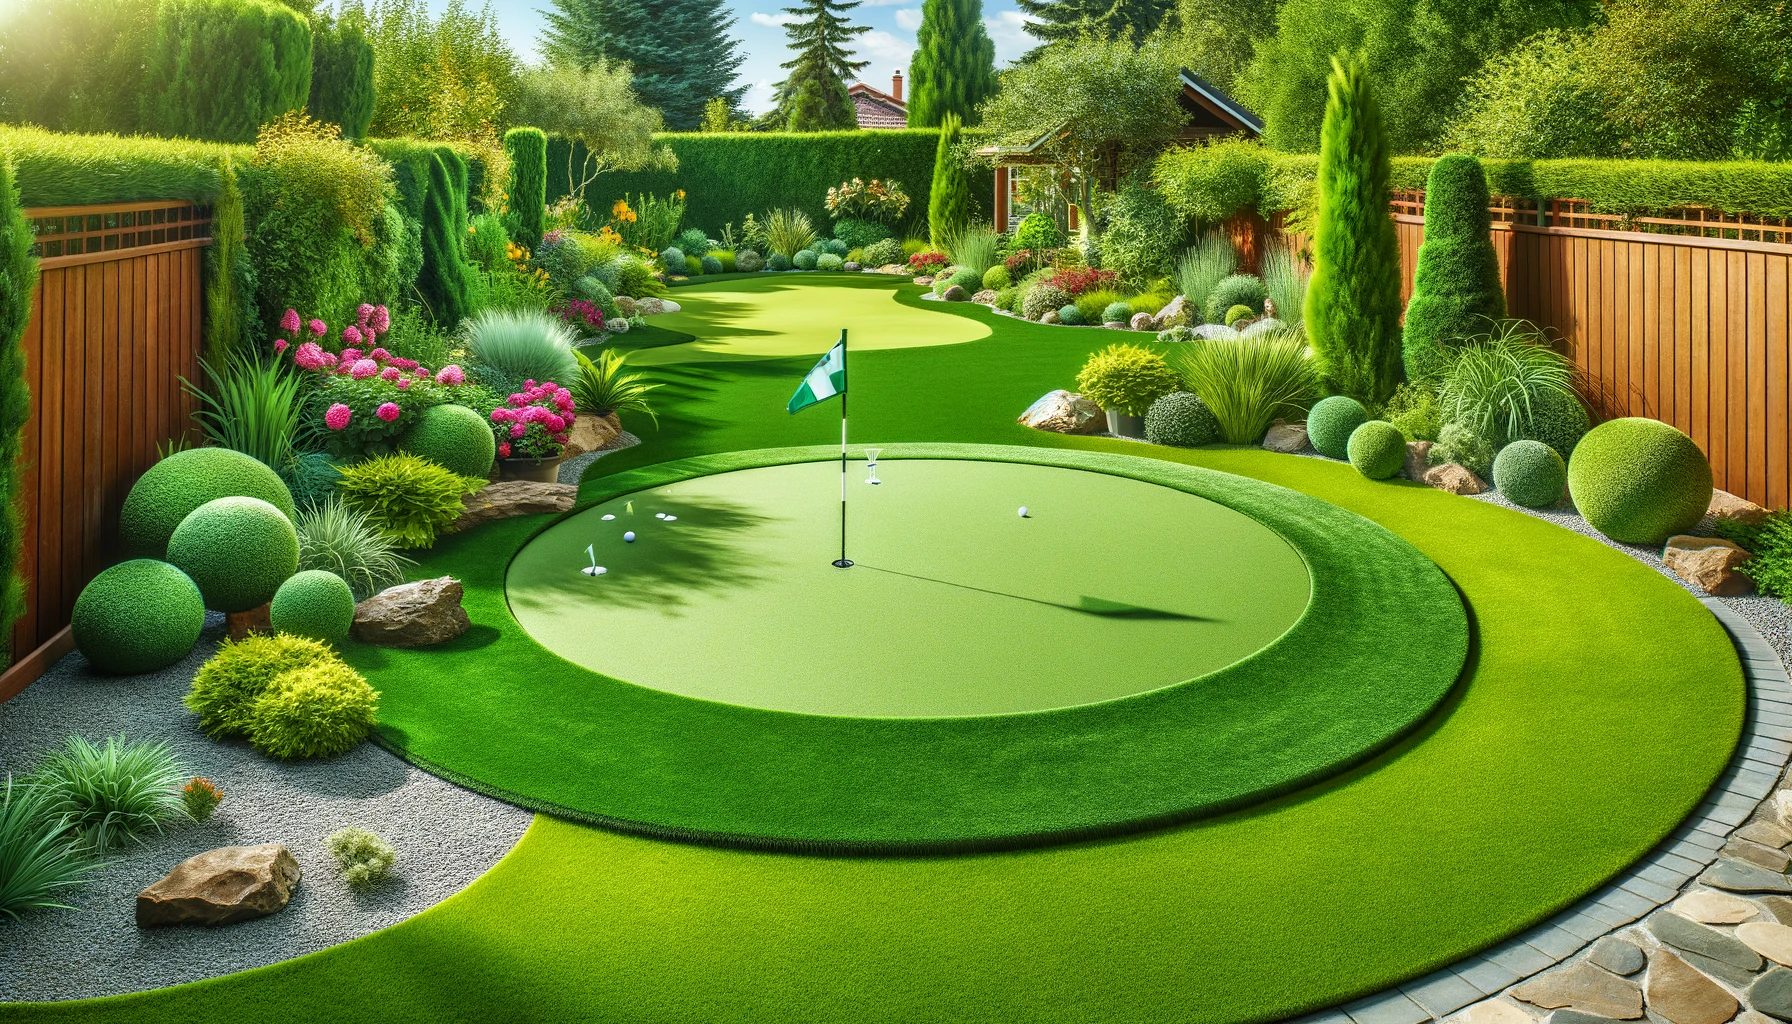
Creating a backyard putting green with artificial turf is a fantastic way to enhance your outdoor space while improving your golf game. This project combines the aesthetic appeal of a lush green lawn with the practical benefits of a low-maintenance surface. Whether you’re an avid golfer looking to practice your putting skills or simply want a unique and attractive addition to your backyard, this guide will walk you through the pros, cons, recommended tools, and step-by-step instructions for creating your own backyard putting green with artificial turf.
Pros of Creating Backyard Putting Greens with Artificial Turf
Creating a backyard putting green with artificial turf offers numerous benefits that make it an attractive option for golf enthusiasts and homeowners alike. Here are some of the key advantages:
- Low Maintenance: Unlike natural grass, artificial turf requires minimal upkeep. You won’t need to mow, water, or fertilize, saving both time and money.
- Durability: Artificial turf is designed to withstand heavy use and harsh weather conditions, ensuring your putting green stays in great shape for years.
- Consistent Play Surface: With artificial turf, you get a consistent playing surface that mimics the feel of professional golf courses. This allows for better practice and improved performance.
- Water Conservation: Switching to artificial turf significantly reduces water usage, making it an environmentally friendly choice. This is especially beneficial in drought-prone areas.
- Pest Control: Artificial turf eliminates the need for pesticides and herbicides, promoting a healthier environment for your family and pets.
These benefits make artificial turf a practical and sustainable option for backyard putting greens, providing a high-quality, low-maintenance alternative to natural grass.
Cons of Creating Backyard Putting Greens with Artificial Turf
While there are many advantages to creating a backyard putting green with artificial turf, there are also some drawbacks to consider:
- Initial Cost: The upfront cost of installing artificial turf can be high, including materials and professional installation if needed.
- Heat Retention: Artificial turf can get quite hot in direct sunlight, making it uncomfortable to use during peak temperatures.
- Artificial Appearance: Some people prefer the look and feel of natural grass, and artificial turf may not provide the same aesthetic appeal.
- Limited Lifespan: Although durable, artificial turf will eventually need to be replaced, typically after 10-15 years of use.
- Environmental Impact: The production and disposal of artificial turf have environmental implications, as it is made from synthetic materials that are not biodegradable.
Considering these cons can help you make a well-informed decision about whether artificial turf is the right choice for your backyard putting green.
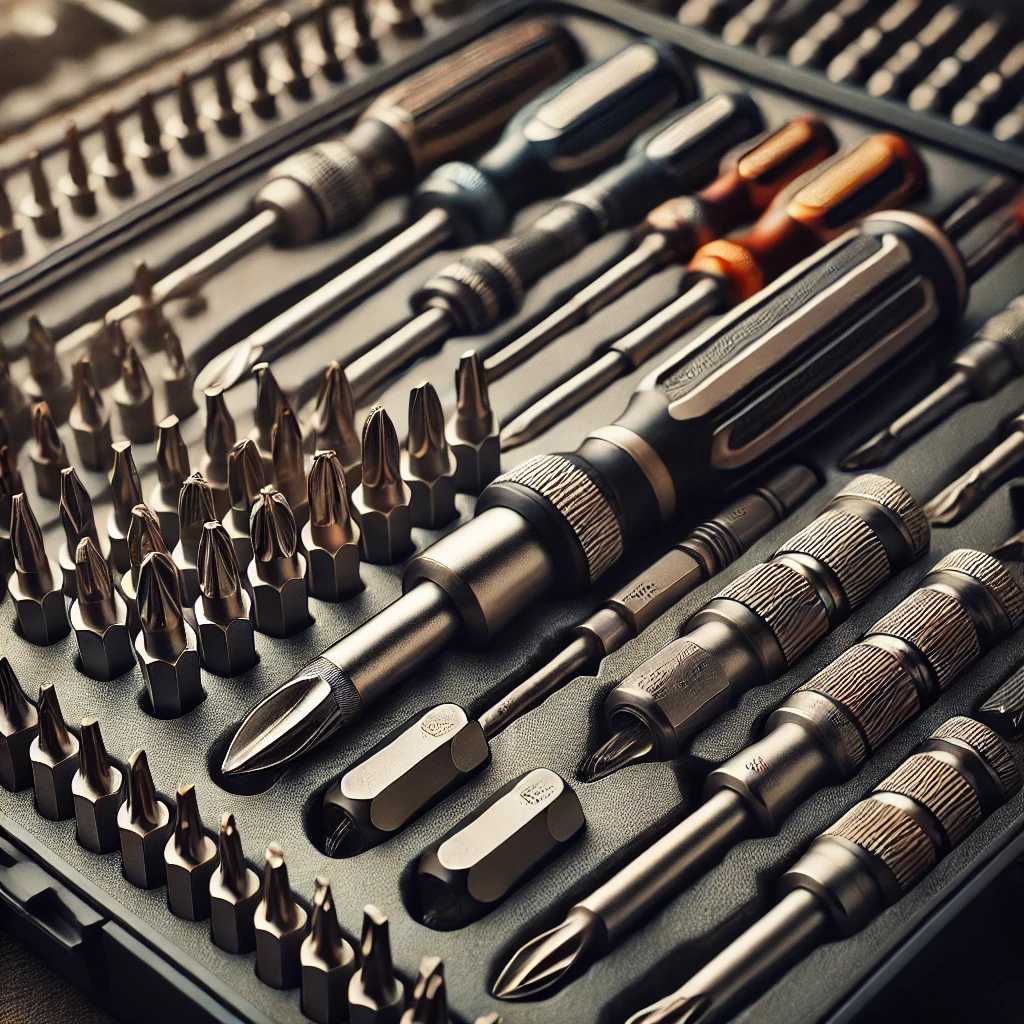
Recommended Tools for the Project
When creating a backyard putting green with artificial turf, having the right tools is essential for a successful installation. Here are some of the recommended tools for this project:
- Utility Knife: A sharp utility knife is crucial for cutting the artificial turf to fit the designated area accurately.
- Turf Adhesive: High-quality turf adhesive ensures that the artificial turf stays securely in place.
- Compactor: A compactor is used to prepare the ground by leveling and compacting the soil or base material.
- Rake and Shovel: These basic gardening tools are necessary for clearing the area and spreading the base material evenly.
- Turf Roller: A turf roller helps to smooth out the artificial turf and ensure it adheres properly to the base.
Using these tools will help you achieve a professional-looking backyard putting green that you can enjoy for years to come.
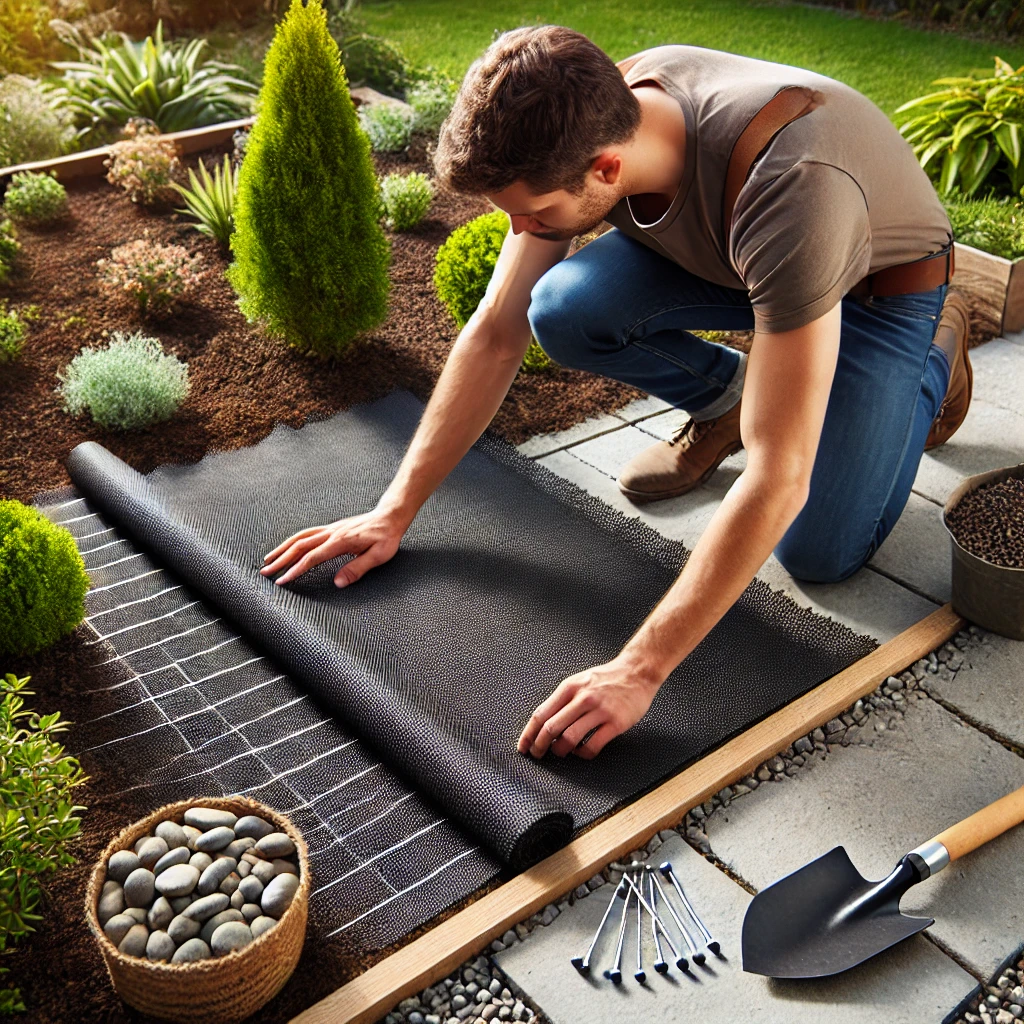
Necessary Steps (1-10)
Creating a backyard putting green with artificial turf involves several steps to ensure a successful installation. Follow these steps for a flawless project:
- Choose the Location: Select a flat, open area in your backyard with good drainage.
- Measure and Plan: Measure the area and plan the layout of your putting green, including any desired slopes or contours.
- Clear the Area: Remove any existing grass, rocks, or debris from the selected area.
- Prepare the Base: Install a base layer of crushed stone or gravel and compact it to create a stable foundation.
- Install the Edging: Place edging around the perimeter to contain the base material and turf.
- Lay the Turf: Roll out the artificial turf and trim it to fit the area precisely.
- Secure the Turf: Use turf adhesive or stakes to secure the edges of the turf.
- Infill Application: Apply a layer of infill material to help the turf blades stand upright and provide cushioning.
- Brush the Turf: Use a turf brush to spread the infill evenly and lift the turf fibers.
- Install the Cups: Cut out holes for the putting cups and insert them securely into the ground.
Following these steps will help you create a high-quality backyard putting green that is both functional and visually appealing.
Comparisons
When deciding to create a backyard putting green with artificial turf, it’s important to compare it to other options available. Here are some comparisons to consider:
- Natural Grass vs. Artificial Turf: Natural grass requires regular maintenance, including mowing, watering, and fertilizing, while artificial turf is low maintenance and durable.
- Cost: The initial cost of artificial turf is higher than natural grass, but the long-term savings on maintenance and water can offset this expense.
- Environmental Impact: Artificial turf conserves water but has a higher environmental impact due to its synthetic materials. Natural grass supports local ecosystems but requires significant water and chemical inputs.
- Aesthetic Appeal: Some prefer the natural look of real grass, while others appreciate the consistent appearance of artificial turf.
- Performance: Artificial turf provides a consistent playing surface that mimics professional courses, whereas natural grass can be uneven and affected by weather conditions.
By comparing these factors, you can determine the best option for your backyard putting green.
Tips & Tricks
Creating a backyard putting green with artificial turf can be a rewarding project with the right approach. Here are some tips and tricks to ensure success:
- Choose High-Quality Turf: Invest in high-quality artificial turf designed specifically for putting greens to ensure durability and performance.
- Consider Drainage: Proper drainage is crucial to prevent water buildup and maintain the integrity of your putting green.
- Plan for Maintenance: While artificial turf is low maintenance, occasional brushing and infill replenishment are necessary to keep it in top condition.
- Customize Your Design: Add features like slopes, undulations, and multiple holes to create a challenging and enjoyable putting experience.
- Seek Professional Help: If you’re unsure about the installation process, consider hiring a professional to ensure a flawless result.
These tips and tricks will help you create a backyard putting green that you can enjoy for years to come.
FAQs (Frequently Asked Questions)
Q: How long does artificial turf last? A: Artificial turf typically lasts between 10-15 years with proper maintenance. High-quality turf and professional installation can extend its lifespan.
Q: Is artificial turf safe for pets? A: Yes, artificial turf is safe for pets. It is non-toxic and can be easily cleaned of pet waste. However, it’s important to choose pet-friendly turf designed to withstand wear and tear from animals.
Q: How do I clean and maintain my artificial turf putting green? A: Regular brushing to keep the fibers upright, occasional rinsing to remove dust and debris, and replenishing the infill material as needed are key maintenance tasks. Spot cleaning for stains and pet waste may also be necessary.
Q: Can I install artificial turf myself, or should I hire a professional? A: While DIY installation is possible, hiring a professional ensures a high-quality result, especially for more complex designs. Professionals have the tools and experience to handle the installation efficiently.
Q: How does artificial turf handle weather conditions? A: Artificial turf is designed to withstand various weather conditions, including heavy rain, snow, and extreme heat. Proper drainage and high-quality materials help maintain its integrity in different climates.
Updates and Future Considerations
As technology advances, the quality and variety of artificial turf continue to improve. Here are some future considerations for your backyard putting green:
- Eco-Friendly Options: New developments in eco-friendly materials are making artificial turf more sustainable and environmentally friendly.
- Improved Drainage Systems: Innovations in drainage technology ensure better water management, reducing the risk of flooding and improving the longevity of your putting green.
- Enhanced Realism: Advances in turf manufacturing are creating more realistic textures and colors, making artificial turf virtually indistinguishable from natural grass.
- Smart Integration: Future putting greens may incorporate smart technology, such as sensors and automated maintenance systems, for an enhanced user experience.
Keeping an eye on these updates can help you make informed decisions about maintaining and upgrading your backyard putting green.
Cost or Price
The cost of creating a backyard putting green with artificial turf can vary based on several factors. Here’s a breakdown of potential expenses:
- Materials: High-quality artificial turf can range from $5 to $20 per square foot. Additional materials, such as base layers, infill, and edging, can add to the cost.
- Installation: Professional installation can cost between $8 to $12 per square foot. DIY installation can save money but requires time and effort.
- Maintenance: While maintenance costs are lower than natural grass, budget for occasional brushing, infill replenishment, and cleaning supplies.
Overall, the initial investment may be high, but the long-term savings on water and maintenance can make it a cost-effective choice.