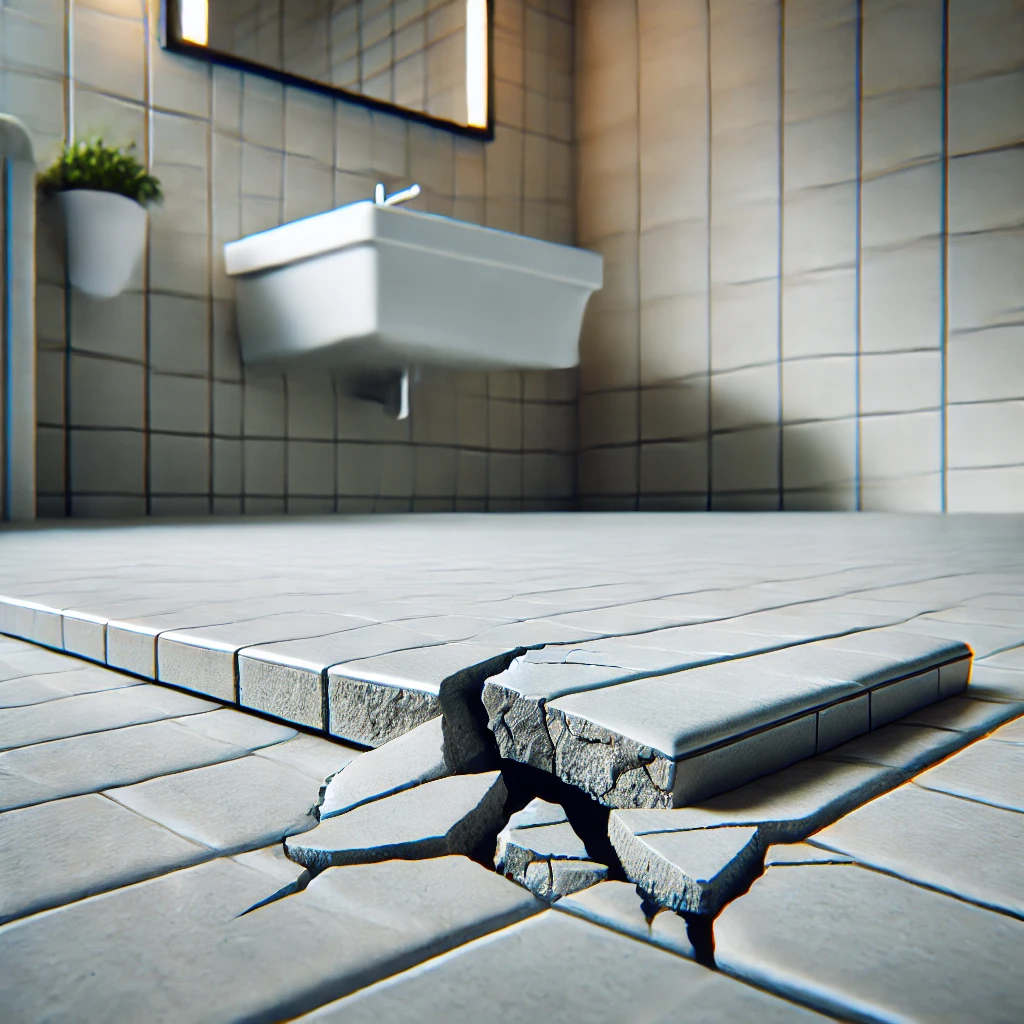
When it comes to maintaining the beauty and functionality of your bathroom, repairing broken or chipped tiles can make a significant difference. Whether it’s a cracked ceramic tile, chipped porcelain, or a worn-out stone fixture, tile repair can save you time and money. This detailed guide will walk you through the steps of bathroom tile repair, covering everything from removing old grout to installing and grouting new tiles. Whether you’re tackling a damaged soap dish or replacing a discolored tile, this guide will help you restore your bathroom’s look. For expert tile repair products, don’t forget to visit The Tile Doctor.
Pros of Bathroom Tile Repair
Repairing bathroom tiles is a cost-effective way to restore your bathroom without undergoing a full renovation. Some key benefits include:
- Cost-effective: Repairing tiles saves money compared to full replacements.
- Customization: Update your space by replacing broken or outdated tiles with modern options.
- Sustainability: Less waste is produced, making tile repair a more eco-friendly option.
- Aesthetic improvement: Repairing or replacing broken tiles instantly revitalizes the look of your bathroom.
- Prevents further damage: Repairing small cracks prevents water damage and other issues from worsening.
Bathroom tile repair can extend the life of your tiles and maintain your bathroom’s appearance. For specialized grout and tile care, be sure to visit The Tile Doctor.
Cons of Bathroom Tile Repair
While repairing bathroom tiles offers many benefits, there are some drawbacks to consider:
- Time-consuming: The process of removing tiles, cleaning the area, and reapplying grout takes time.
- Matching grout: Older grout is often difficult to match with newer materials.
- Risk of damage: Nearby tiles may crack or become damaged during removal.
- Precision required: Tile replacement must be done carefully to avoid unevenness.
- May not be ideal for extensive damage: In cases of widespread damage, full tile replacement might be more efficient.
Despite these challenges, repairing bathroom tiles is often a good solution for minor issues. Always consider the extent of the damage before deciding on repair versus replacement.
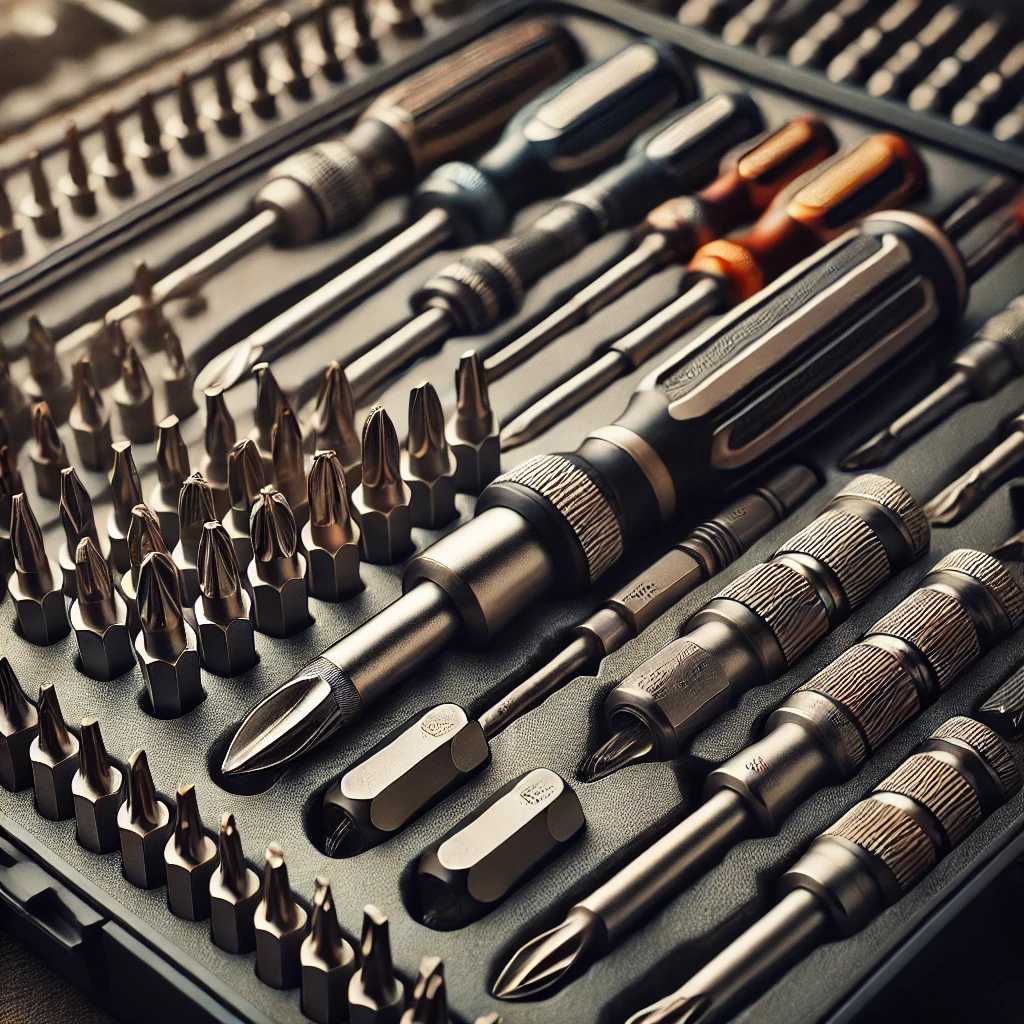
Recommended Tools for the Project
Having the right tools on hand is essential for a successful tile repair project. Some recommended tools include:
- Dry cut saw: Perfect for cutting through ceramic and porcelain tiles.
- Chisel: Handy for removing tiles with precision.
- Safety glasses: Always wear safety glasses to protect from flying tile fragments.
- Bonding adhesive: Essential for securing the new tile in place.
- Grout float: For applying grout smoothly and evenly.
To find all the tools needed for tile repair, visit this comprehensive tool guide.
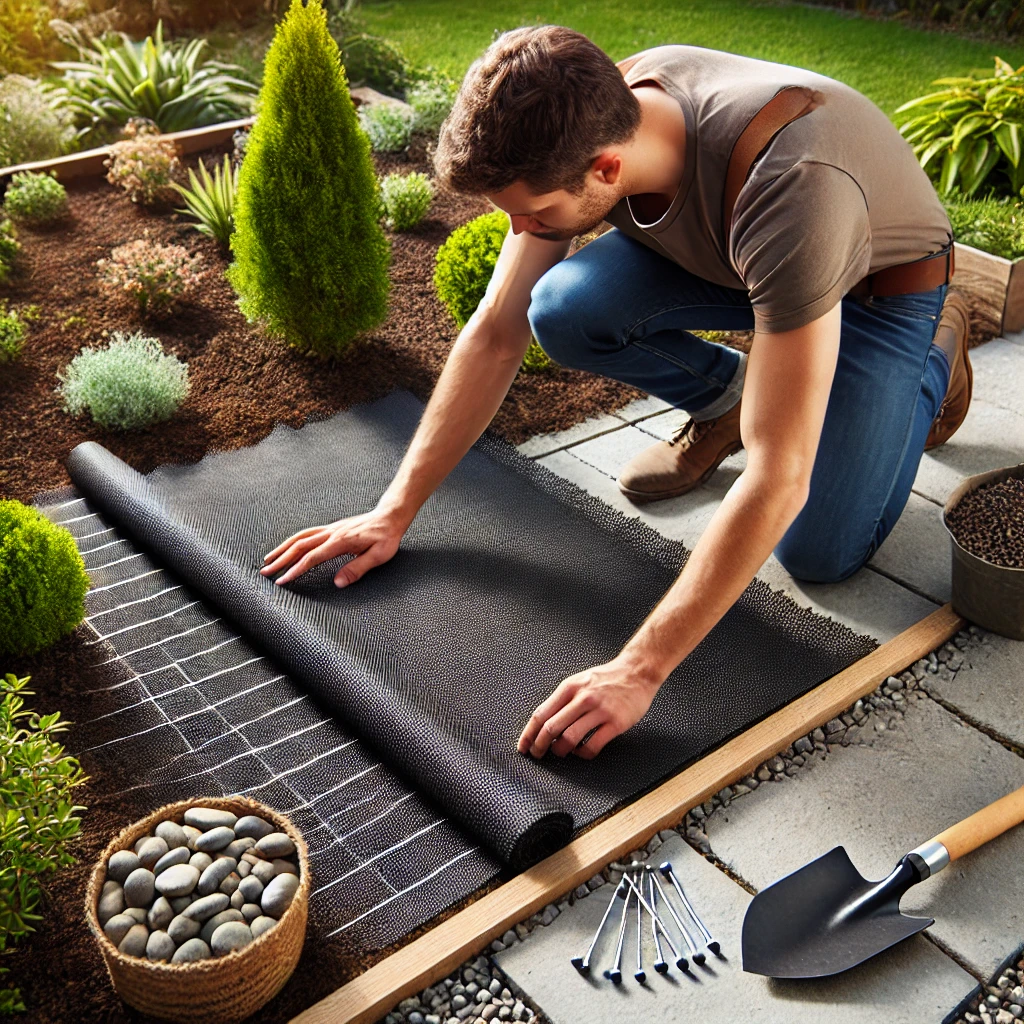
Necessary Steps for Bathroom Tile Repair (1-10)
- Prepare the area: Start by cleaning the area around the damaged tile.
- Remove old grout: Use a grout saw to remove the old grout surrounding the broken tile.
- Cut the tile: A dry cut saw works well to cut through the tile; alternatively, use a chisel.
- Remove the tile: Carefully pry out the broken tile after making the cut.
- Clean the area: Remove any remaining adhesive and debris from the surface.
- Apply new adhesive: Spread bonding adhesive onto the cleaned surface.
- Install the new tile: Place the new tile into the adhesive, ensuring it is aligned correctly.
- Allow curing time: Let the adhesive fully cure before proceeding.
- Grout the tile: After curing, apply grout around the new tile.
- Wipe excess grout: Use a damp sponge to clean any excess grout from the surface.
By following these steps, you can restore your bathroom tiles to their original condition. For more advice on grout and tile care, be sure to visit The Tile Doctor.
Comparisons
Understanding the differences in materials and tools is important when repairing bathroom tiles. Here are some key comparisons:
- Porcelain vs Ceramic: Porcelain is more durable but harder to cut, while ceramic tiles are easier to work with.
- Dry Cut Saw vs Chisel: A dry cut saw offers faster results, while a chisel allows for more precise work.
- Grout matching: Newer grout tends to match better, but older grout can be difficult to match perfectly.
- Tile repair vs Fixture repair: Tile fixtures like soap dishes require more careful bonding, but the process is largely the same.
- Stone vs Ceramic: Stone tiles are heavier and may require stronger adhesive compared to ceramic or porcelain.
For more detailed comparisons and grout care, check out The Tile Doctor.
Tips & Tricks
Here are some tips to help you successfully repair bathroom tiles:
- Use matching grout: Test different grout colors to ensure the best match with your existing tiles.
- Wear protective gear: Always use safety glasses when cutting or removing tiles.
- Patience is key: Allow sufficient time for the adhesive and grout to set properly.
- Work in small sections: When grouting, work in small areas to ensure clean and even application.
- Clean as you go: Wipe away excess grout immediately to avoid hardened residue.
FAQs
Q: How long does it take for the adhesive to cure?
A: Depending on the adhesive, curing usually takes 24-48 hours before grouting can be done.
Q: Can this method be used for both floor and wall tiles?
A: Yes, the same method applies to both floor and wall tiles.
Q: What if the tile cracks during removal?
A: Carefully work in small sections to prevent surrounding tiles from cracking. If this happens, use a chisel to minimize damage.
Q: How do I match grout with existing tiles?
A: It can be challenging to match old grout perfectly, but experimenting with color samples can help.
Q: Is tile repair expensive?
A: Tile repair is generally affordable, especially compared to full tile replacement.
For additional FAQs and advice on tile care, visit The Tile Doctor.
Updates and Future Considerations
As trends in bathroom tile styles evolve, it’s essential to consider future maintenance and repairs. If you’re using older grout or tiles, keeping a small supply on hand for future repairs can save time and money. New grout technologies, such as stain-resistant grouts, are also available for more durable repairs.
For up-to-date tile care and repair information, visit The Tile Doctor.
Cost or Price
The cost of repairing bathroom tiles varies based on the materials and labor involved. Here are some price estimates:
- Tile cost: $1 to $15 per tile, depending on material and size.
- Grout and adhesive: $10 to $30.
- DIY costs: Repairs can be done for less than $50 in materials.
- Professional services: Tile repair can range from $75 to $150 per hour.
Tile repair is an affordable solution for minor damage, saving you the cost of a full replacement. For professional advice on tile care, visit The Tile Doctor.