Your cart is currently empty!
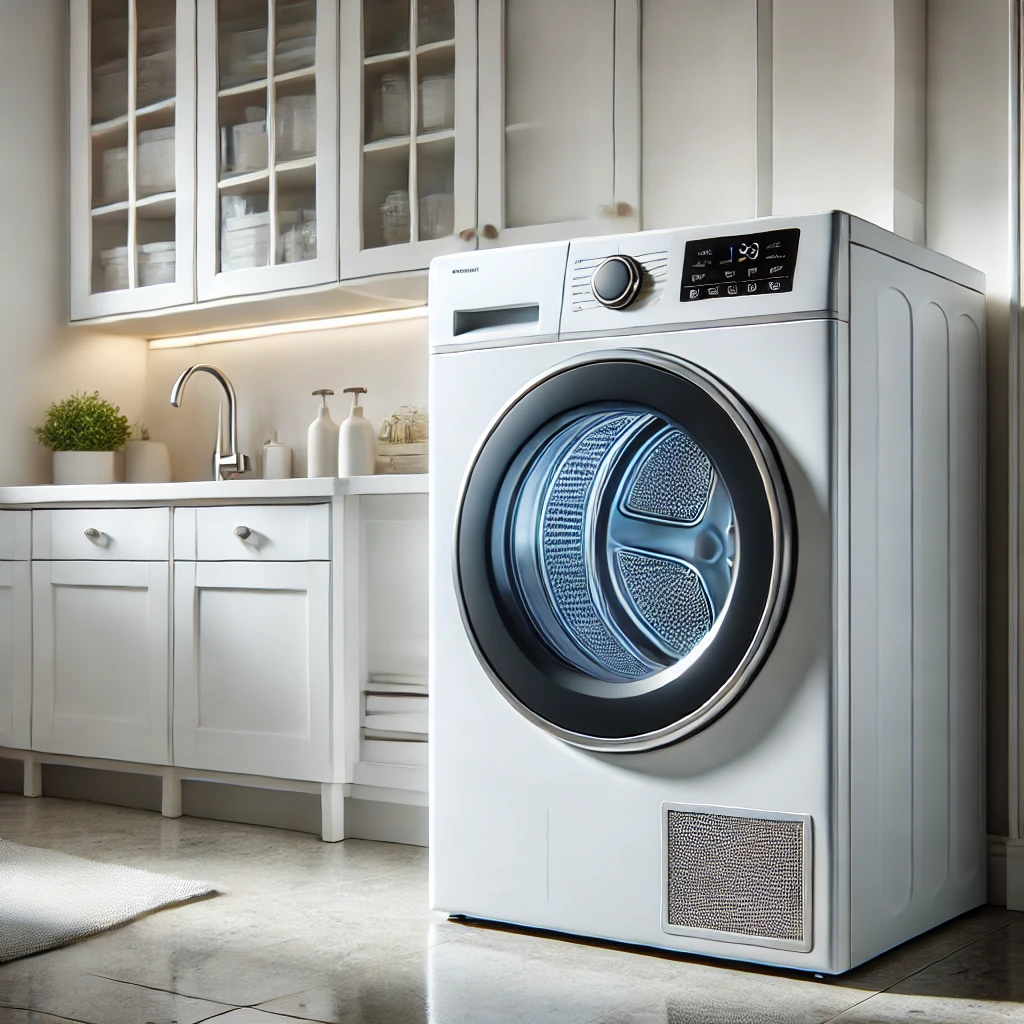
Changing an electric dryer heating element is a task that might seem daunting at first, but with the right guidance, tools, and a little patience, it can be done by most homeowners. Understanding how to replace the heating element in your dryer not only saves you money on repair costs but also extends the life of your appliance. In this guide, we’ll walk you through the steps necessary to change an electric dryer heating element, discuss the pros and cons of doing it yourself, and provide tips to make the process as smooth as possible.
Pros of Changing an Electric Dryer Heating Element
- Cost Savings: Replacing the heating element yourself can save you a significant amount compared to hiring a professional. The cost of the heating element itself is relatively low, and you won’t have to pay for labor.
- Quick Fix: Once you have the part and the necessary tools, changing the heating element can be done in under an hour. This quick fix can have your dryer back up and running in no time.
- Learning Opportunity: Taking on this project yourself provides a great learning opportunity. Understanding the inner workings of your dryer can help with future repairs or troubleshooting.
- Improved Efficiency: Replacing a faulty heating element can significantly improve your dryer’s efficiency. A new element will ensure that your dryer heats up properly and dries clothes faster.
- Extended Appliance Life: Regular maintenance, including replacing the heating element, can extend the life of your dryer. By addressing issues as they arise, you prevent further damage to the appliance.
Cons of Changing an Electric Dryer Heating Element
- Complexity for Beginners: For those who are not experienced with appliance repair, changing the heating element can be a complex task. It involves disassembling parts of the dryer and dealing with electrical components.
- Risk of Further Damage: If not done correctly, replacing the heating element could lead to further damage to the dryer. This might result in more costly repairs or even the need to replace the entire appliance.
- Time-Consuming: For beginners, the process may take longer than expected. It’s important to set aside enough time to complete the repair without rushing.
- Safety Concerns: Working with electrical components always carries some risk. It’s crucial to disconnect the dryer from the power source and follow safety protocols to avoid injury.
- Warranty Void: If your dryer is still under warranty, replacing the heating element yourself might void the warranty. It’s essential to check the warranty terms before proceeding.
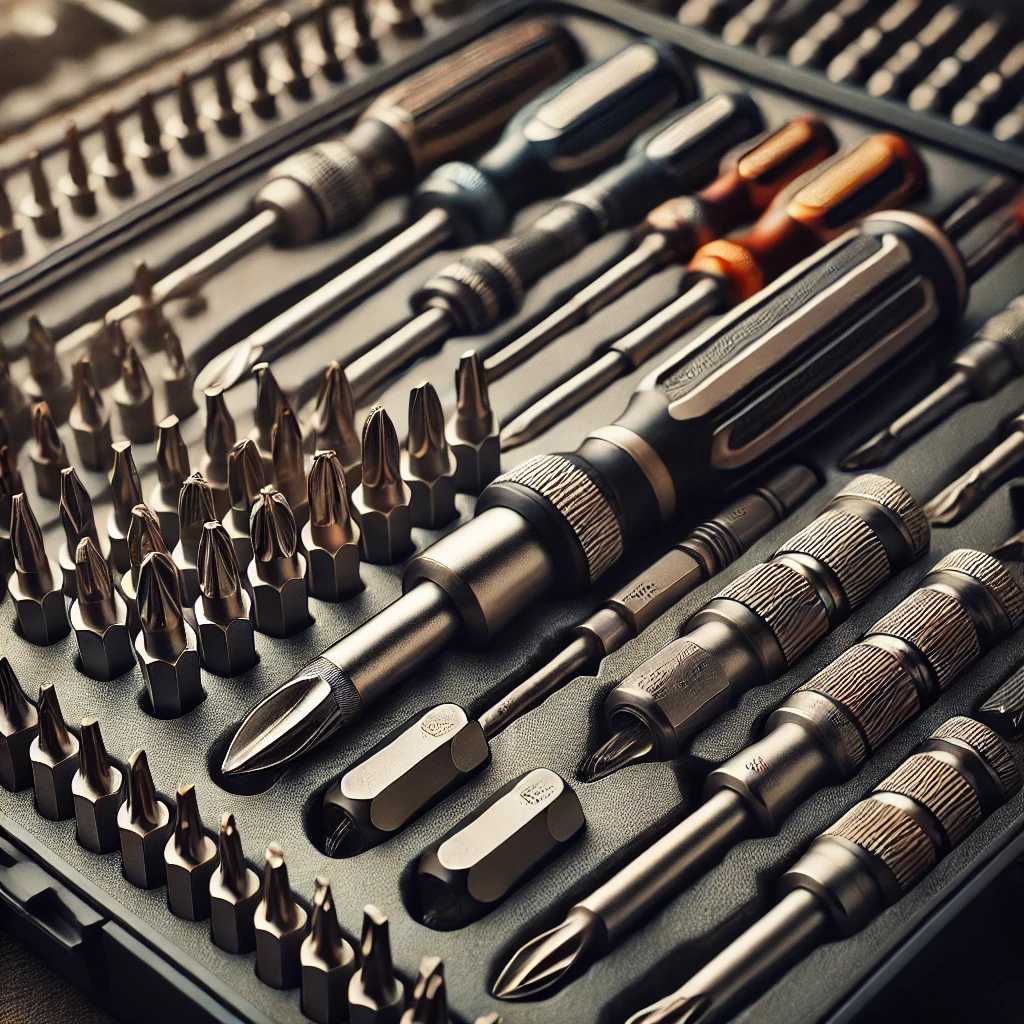
Recommended Tools for the Project
- Screwdriver Set: A set of screwdrivers, including both flathead and Phillips, will be needed to remove screws and access the heating element.
- Multimeter: This tool is essential for testing the heating element and ensuring it’s faulty before replacement. It can also be used to check for electrical continuity after installation.
- Nut Driver: Some dryers require a nut driver to remove certain screws or bolts. Make sure you have the correct size for your dryer model.
- Pliers: Pliers can be useful for removing clamps, wires, or other components during the disassembly process.
- Work Gloves: Protect your hands from sharp edges and hot components by wearing work gloves throughout the repair process.
- Needle Nose Pliers: Handy for maneuvering small parts or accessing hard-to-reach areas.
Necessary Steps (1-10)
- Unplug the Dryer: Always start by unplugging the dryer from the power source to ensure safety.
- Access the Heating Element: Depending on your dryer model, you may need to remove the back panel, the front panel, or the drum to access the heating element.
- Test the Heating Element: Use a multimeter to check if the heating element is faulty. If there’s no continuity, the element needs to be replaced.
- Disconnect Wires and Clamps: Carefully disconnect any wires or clamps holding the heating element in place. Take note of their positions to ensure correct reassembly.
- Remove the Old Heating Element: Unscrew and remove the old heating element from its housing.
- Install the New Heating Element: Place the new heating element in the same position as the old one and secure it with screws.
- Reconnect Wires and Clamps: Reattach the wires and clamps to the new heating element, ensuring they are connected correctly.
- Reassemble the Dryer: Once the new heating element is installed, reassemble the dryer by replacing the panels and securing all screws.
- Test the Dryer: Plug the dryer back in and run a test cycle to ensure the new heating element is working correctly.
- Monitor for Issues: After the first few cycles, monitor the dryer for any unusual sounds, smells, or performance issues.
Comparisons
- DIY vs. Professional Repair: Changing the heating element yourself can save you money, but hiring a professional ensures the job is done correctly and quickly.
- Electric Dryer vs. Gas Dryer Repairs: Electric dryer repairs, including heating element replacement, are generally simpler than gas dryer repairs, which involve more complex components.
- Old Heating Element vs. New Heating Element: A new heating element will heat more efficiently, dry clothes faster, and may use less energy than an old, worn-out element.
- Different Dryer Brands: The process of changing the heating element can vary slightly between different dryer brands. It’s essential to consult your dryer’s manual for specific instructions.
- Costs: DIY repairs typically cost less than professional repairs, but it’s crucial to weigh the potential savings against the time and effort required.
Tips & Tricks
- Label Wires: Use small labels or take a photo of the wire connections before disassembly to ensure you can reconnect them correctly.
- Check the Manual: Always refer to your dryer’s manual for specific instructions on accessing and replacing the heating element.
- Use Quality Parts: When purchasing a replacement heating element, opt for OEM (Original Equipment Manufacturer) parts to ensure compatibility and durability.
- Safety First: Always wear gloves and safety glasses, and ensure the dryer is unplugged before beginning any repairs.
- Test Before Reassembling: After installing the new heating element, test it with a multimeter before reassembling the dryer to ensure it’s functioning correctly.
FAQs (Frequently Asked Questions)
Q: How do I know if my dryer’s heating element is bad? A: If your dryer is taking longer than usual to dry clothes or isn’t heating at all, the heating element might be faulty. You can confirm this by using a multimeter to test for continuity.
Q: Can I replace the heating element myself? A: Yes, with the right tools and instructions, most homeowners can replace the heating element themselves. However, if you’re not comfortable with electrical repairs, it’s best to hire a professional.
Q: How much does it cost to replace a dryer heating element? A: The cost of a heating element ranges from $30 to $100, depending on your dryer model. If you hire a professional, labor costs could add an additional $100 to $200.
Q: How long does a dryer heating element last? A: On average, a dryer heating element lasts between 8 to 15 years, depending on usage and maintenance.
Q: Is it worth replacing the heating element, or should I buy a new dryer? A: If your dryer is relatively new and in good condition, replacing the heating element is worth it. However, if the dryer is old and has other issues, it might be time to consider a replacement.
Updates and Future Considerations
As technology advances, dryer components are becoming more efficient and easier to replace. In the future, we may see heating elements that last longer and are more energy-efficient. It’s also possible that manufacturers will design dryers with more accessible components, making DIY repairs even simpler. For now, keeping your dryer well-maintained and replacing the heating element when needed can significantly extend its lifespan.
Cost or Price
The cost of replacing an electric dryer heating element varies depending on your dryer model and the brand of the replacement part. Typically, a heating element costs between $30 and $100. If you choose to hire a professional, labor costs could add an additional $100 to $200 to the total expense. While DIY replacement is more cost-effective, it’s essential to weigh the potential savings against the time, effort, and risk involved in performing the repair yourself.
Total Home Handbook: Your ultimate guide to seamless living. From DIY hacks to interior design tips, we empower homeowners with knowledge for every corner of their abode. Welcome to your home’s trusted companion.