Wall anchors are essential tools in ensuring that fixtures and objects are securely fastened to walls, especially when dealing with drywall, plaster, or other hollow materials. But with so many different types of wall anchors available, it can be challenging to determine which one is best suited for your specific project. In this guide, we’ll explore the different types of wall anchors, their advantages, disadvantages, and how to use them effectively.
Pros
Understanding the benefits of each type of wall anchor is crucial for making an informed decision.
- Plastic Expansion Anchors:
- Affordable and widely available, these are the most common wall anchors.
- Suitable for light-duty applications, such as hanging picture frames or small shelves.
- Easy to install and remove with basic tools.
- Versatile and can be used in drywall, plaster, or brick.
- Available in various sizes to accommodate different screw diameters.
- Threaded Drywall Anchors:
- Provide stronger holding power compared to plastic expansion anchors.
- Self-drilling, meaning no pre-drilling is necessary, saving time and effort.
- Designed specifically for drywall, ensuring a secure hold without damaging the material.
- Can support medium-weight items such as curtain rods or towel racks.
- Reusable, allowing you to remove and reinstall without losing grip strength.
- Molly Bolts:
- Ideal for medium to heavy-duty applications.
- Expand behind the wall as the screw is tightened, providing a secure hold.
- Can be used in drywall, plaster, or hollow concrete blocks.
- Can support heavy items such as mirrors, cabinets, or large shelves.
- Available in various sizes to match the weight of the object being hung.
- Toggle Bolts:
- Offer the highest holding power among wall anchors.
- Designed for heavy-duty applications, such as hanging ceiling fans or large flat-screen TVs.
- The toggle mechanism expands behind the wall, distributing weight evenly.
- Suitable for use in drywall, plaster, or hollow blocks.
- Available in different sizes, with larger toggles providing more holding power.
- Metal Expansion Anchors:
- Durable and resistant to corrosion, making them ideal for outdoor use.
- Suitable for medium to heavy-duty applications.
- Provide a strong hold in drywall, plaster, and masonry.
- Can be used with a variety of screw sizes.
- Easily removable without damaging the wall surface.
Cons
While each type of wall anchor has its strengths, there are also some limitations to consider.
- Plastic Expansion Anchors:
- Not suitable for heavy-duty applications; may fail under excessive weight.
- Can become brittle over time, especially in extreme temperatures.
- May not provide a secure hold in softer materials like plaster.
- Limited to use with certain screw sizes, requiring multiple sizes for different projects.
- Can be difficult to remove without damaging the wall.
- Threaded Drywall Anchors:
- May strip the drywall if over-tightened, reducing holding power.
- Limited to drywall use; not suitable for other materials like plaster or brick.
- Can be challenging to install in thicker drywall or multiple layers of drywall.
- Not recommended for heavy-duty applications, as they may not provide adequate support.
- Repeated installation and removal can wear out the anchor, reducing effectiveness.
- Molly Bolts:
- Require pre-drilling, adding extra steps to the installation process.
- May be difficult to install in tight spaces or at awkward angles.
- Removing them can be challenging and may damage the wall.
- More expensive than other types of anchors, increasing overall project cost.
- Not reusable, requiring new anchors if you need to move the fixture.
- Toggle Bolts:
- Require a larger hole for installation, which can weaken the surrounding wall.
- Once installed, they are difficult to remove without causing significant damage.
- May be overkill for lighter items, leading to unnecessary wall damage.
- Installation can be tricky in confined spaces or behind obstacles.
- The toggle mechanism may fail if not installed correctly, leading to fixture instability.
- Metal Expansion Anchors:
- Require pre-drilling, which adds time to the installation process.
- May not provide as strong a hold in hollow materials compared to toggle bolts.
- More expensive than plastic anchors, increasing project cost.
- Can be difficult to remove, potentially damaging the wall surface.
- Not as widely available as plastic anchors, limiting choices in some areas.
Recommended Tools for the Project
Having the right tools on hand is essential for a successful wall anchor installation. Below are some recommended tools that will make your project easier and more efficient:
- Drill with Drill Bits:
- A powerful drill is essential for pre-drilling holes, especially when using molly bolts or metal expansion anchors.
- Ensure you have a variety of drill bit sizes to match the anchor and screw diameters.
- Cordless drills are highly recommended for ease of use and mobility.
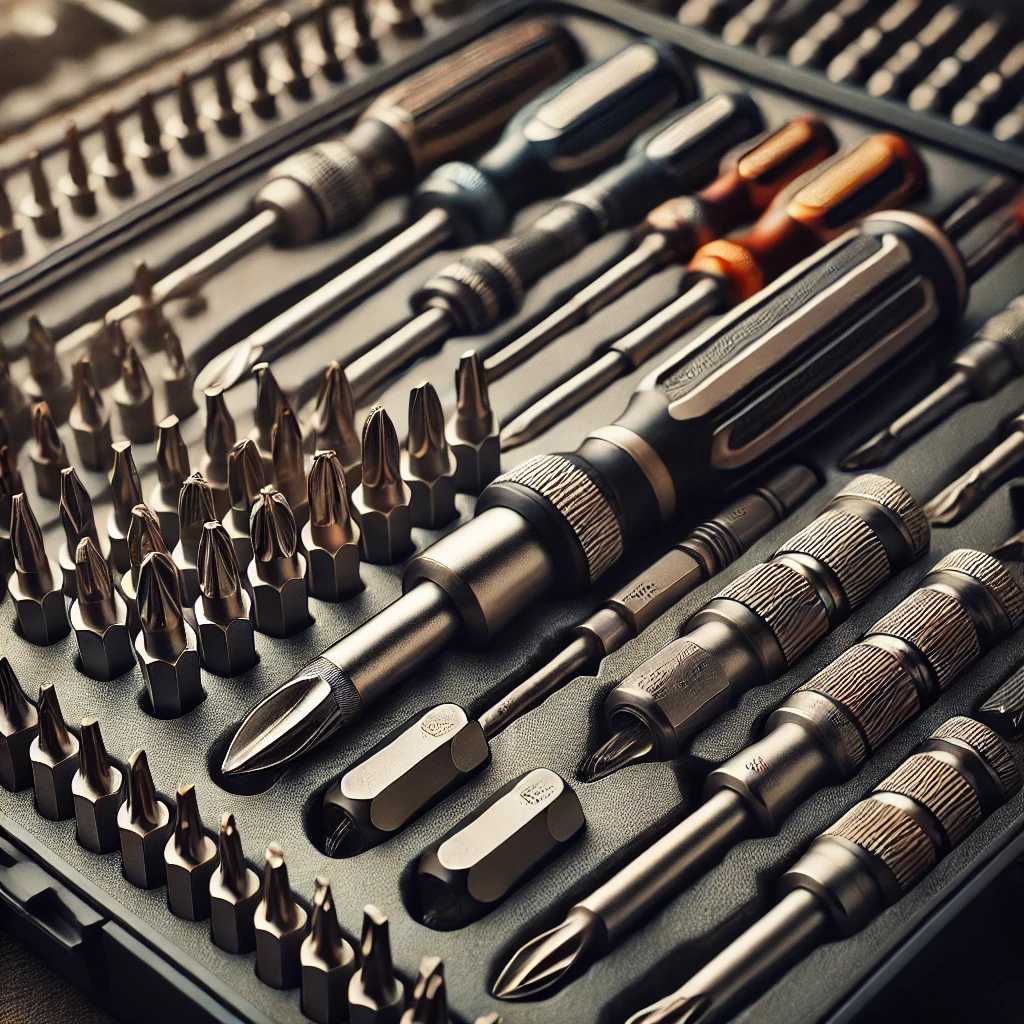
- Screwdriver:
- A good-quality screwdriver is necessary for driving screws into the anchors.
- Consider a screwdriver with interchangeable bits to accommodate different screw types.
- For added convenience, an electric screwdriver can speed up the installation process.
- Stud Finder:
- A stud finder is crucial for locating studs behind the drywall.
- Anchors should not be used in place of studs for heavy items; always secure into a stud when possible.
- Some stud finders also detect electrical wires, adding an extra layer of safety.
- Level:
- A level ensures that your fixtures are installed straight and aligned.
- Consider a laser level for precision, especially for long or heavy items.
- A small, handheld level is sufficient for most small to medium-sized projects.
- Measuring Tape:
- Accurate measurements are essential for proper anchor placement.
- A retractable measuring tape allows for quick and easy measurements.
- Use the tape to measure the distance between multiple anchors to ensure even weight distribution.
- Safety Gear:
- Safety goggles protect your eyes from dust and debris during drilling.
- Gloves provide extra grip and protect your hands from sharp edges or screws.
- A dust mask is recommended if drilling into materials that produce a lot of dust, such as drywall or plaster.
For more information on these tools and where to purchase them, visit Total Home Handbook.
Necessary Steps (1-10)
Installing wall anchors is a straightforward process if you follow these steps carefully:
- Select the Appropriate Anchor:
- Choose the right type of wall anchor based on the weight and material of the fixture.
- For heavy items, consider toggle bolts or molly bolts.
- For light to medium-weight items, plastic expansion or threaded drywall anchors are suitable.
- Mark the Location:
- Use a pencil to mark where the anchor will be installed.
- Ensure the marks are level and evenly spaced for multiple anchors.
- Use a stud finder to avoid placing anchors over studs.
- Pre-Drill the Hole:
- Use a drill bit that matches the diameter of the anchor.
- Drill a hole at each marked location.
- For toggle bolts, ensure the hole is large enough to accommodate the folded toggle.
- Insert the Anchor:
- Push the anchor into the drilled hole.
- For expansion anchors, tap lightly with a hammer if necessary.
- For toggle bolts, insert the folded toggle into the hole, allowing it to expand behind the wall.
- Secure the Anchor:
- For plastic expansion anchors, tighten the screw slightly to expand the anchor.
- For molly bolts, tighten the screw until the anchor grips the back of the wall.
- For toggle bolts, pull back slightly on the bolt to ensure the toggle is secure before tightening.
- Attach the Fixture:
- Align the fixture with the installed anchors.
- Insert screws through the fixture and into the anchors.
- Tighten the screws securely, but avoid over-tightening to prevent damaging the anchor.
- Check for Stability:
- Gently test the fixture to ensure it is securely attached to the wall.
- If the fixture feels loose, double-check the anchor and screw placement.
- Make Adjustments if Necessary:
- If the fixture is not level, loosen the screws slightly and make adjustments.
- Re-tighten the screws once the fixture is level.
- Finish the Installation:
- Once the fixture is secure and level, finish by concealing screws if necessary.
- Use screw caps or decorative covers to enhance the appearance.
- Clean Up:
- Remove any dust or debris from the installation area.
- Store your tools properly for future use.
Comparisons
Understanding how different types of wall anchors compare to one another can help you choose the best option for your project.
- Plastic Expansion Anchors vs. Threaded Drywall Anchors:
- Plastic expansion anchors are more affordable but offer less holding power than threaded drywall anchors.
- Threaded drywall anchors are self-drilling, while plastic expansion anchors require pre-drilling.
- Plastic expansion anchors are more versatile, suitable for various materials, whereas threaded drywall anchors are best for drywall only.
- Molly Bolts vs. Toggle Bolts:
- Molly bolts provide a secure hold in medium-weight applications, while toggle bolts are designed for heavy-duty use.
- Toggle bolts require larger holes for installation, which can weaken the wall compared to molly bolts.
- Molly bolts are easier to remove, while toggle bolts may cause more damage during removal.
- Metal Expansion Anchors vs. Plastic Expansion Anchors:
- Metal expansion anchors are more durable and resistant to corrosion, making them suitable for outdoor use.
- Plastic expansion anchors are cheaper and easier to install but may become brittle over time.
- Metal expansion anchors provide a stronger hold in masonry, while plastic anchors are more suitable for drywall.
Tips & Tricks
When working with wall anchors, these tips and tricks can help ensure a successful installation:
- Always Pre-Drill:
- Pre-drilling ensures that the anchor will fit properly and reduces the risk of wall damage.
- Use a drill bit that matches the anchor size for a snug fit.
- Test the Wall Material:
- Before installing anchors, test the wall material to determine if it can support the desired weight.
- Tap the wall lightly; a hollow sound indicates drywall, while a solid sound indicates plaster or masonry.
- Use a Stud Finder:
- Locate studs before installing anchors, especially for heavy items.
- Anchors should not replace screws in studs for heavy fixtures; use them as additional support.
- Avoid Over-Tightening:
- Over-tightening screws can strip the anchor or damage the wall.
- Tighten screws just enough to secure the fixture without causing damage.
- Choose the Right Anchor Size:
- Match the anchor size to the weight and size of the fixture.
- Using a larger anchor than necessary can cause unnecessary wall damage.
FAQs
Q: Can I use wall anchors in plaster walls?
A: Yes, but not all anchors are suitable for plaster. Molly bolts and metal expansion anchors are recommended for plaster walls due to their strong hold.
Q: How do I remove a wall anchor without damaging the wall?
A: Use a pair of needle-nose pliers to gently pull out the anchor. For molly bolts or toggle bolts, removing the screw first can help minimize wall damage.
Q: What type of anchor should I use for hanging a heavy mirror?
A: Toggle bolts are the best choice for heavy mirrors, as they provide the strongest hold in drywall and plaster.
Q: Can wall anchors be reused?
A: Some anchors, like threaded drywall anchors, can be reused, but others, like plastic expansion anchors, should be replaced after removal.
Q: Are wall anchors necessary for every project?
A: Wall anchors are essential when attaching fixtures to hollow walls or surfaces that cannot support screws alone. For studs or solid materials, they may not be needed.
Updates and Future Considerations
As new wall anchor designs and materials emerge, it’s important to stay informed about the latest options. Look for updates on innovative anchors that provide better holding power or are easier to install. Consider the evolving needs of your home or project space, and choose anchors that can accommodate future changes or upgrades.
Cost or Price
The cost of wall anchors varies depending on the type and brand. Plastic expansion anchors are the most affordable, typically costing a few cents per anchor. Threaded drywall anchors and molly bolts are moderately priced, ranging from $0.10 to $0.50 per anchor. Toggle bolts and metal expansion anchors are the most expensive, with prices ranging from $0.50 to $2.00 per anchor. Consider purchasing a variety pack that includes different types and sizes of anchors to cover all your project needs.