A leaky faucet can be a significant annoyance, causing unnecessary water waste and increased utility bills. Fortunately, fixing a leaky faucet without professional help is entirely possible with some basic tools and a little patience. This guide will walk you through the entire process, ensuring you have all the information needed to tackle this DIY project successfully.
Pros
Fixing a leaky faucet on your own comes with several advantages:
- Cost Savings: Hiring a plumber can be expensive. By fixing the leak yourself, you save money on labor costs.
- Convenience: You can fix the problem at your own pace and time, without having to wait for a professional’s availability.
- Learning Experience: DIY projects provide valuable skills and knowledge, empowering you to handle similar issues in the future.
- Immediate Action: Addressing the leak promptly prevents further damage and water waste.
- Satisfaction: Completing a DIY project successfully brings a sense of accomplishment and pride.
- Customization: You have the freedom to choose the best replacement parts and tools that suit your needs.
Cons
While DIY repairs have their benefits, there are also some potential drawbacks:
- Time-Consuming: Without experience, the repair process might take longer than anticipated.
- Risk of Mistakes: Incorrect repairs can lead to further damage or more severe leaks.
- Tools Required: You may need to purchase specific tools if you don’t already have them.
- Limited Expertise: Complex issues might be beyond your skill level, requiring professional intervention.
- Safety Concerns: Handling plumbing can sometimes pose safety risks if not done correctly.
- Warranty Void: DIY repairs might void warranties on faucets or related plumbing fixtures.
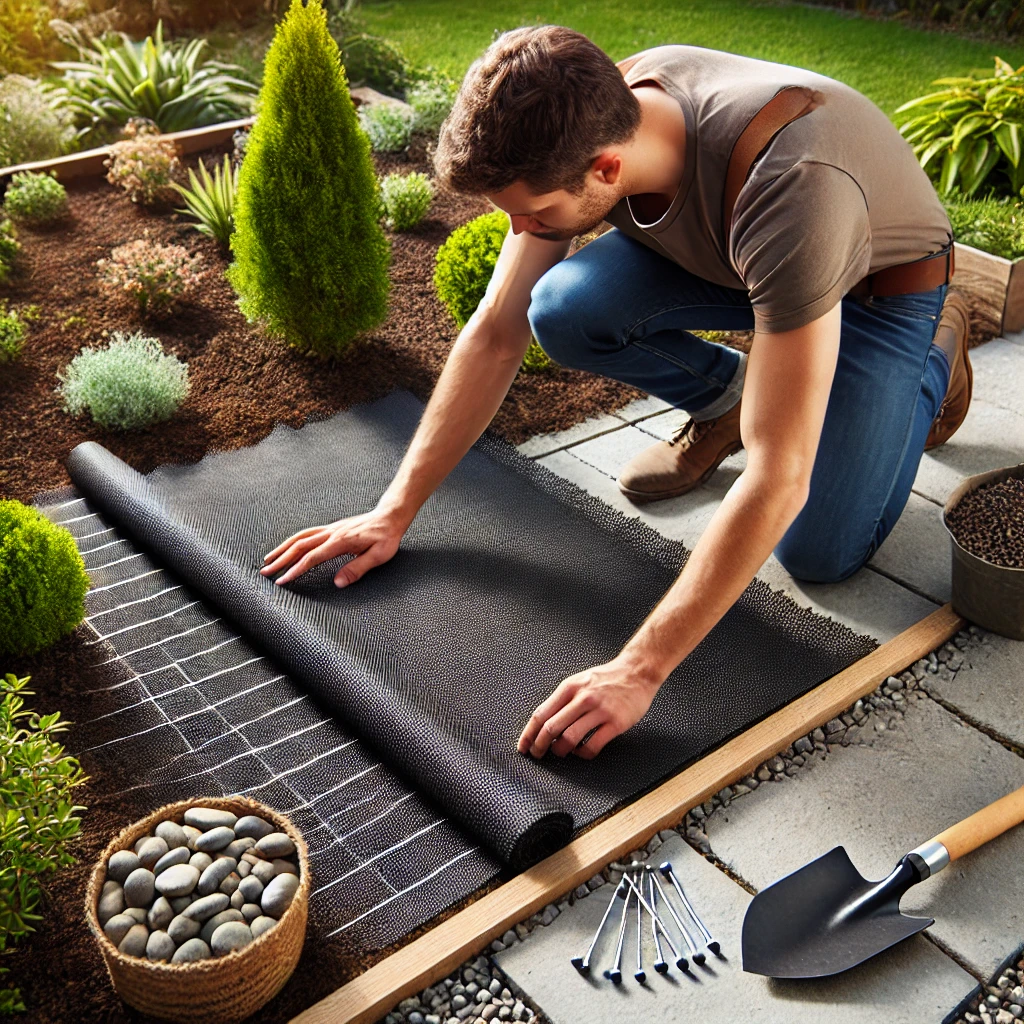
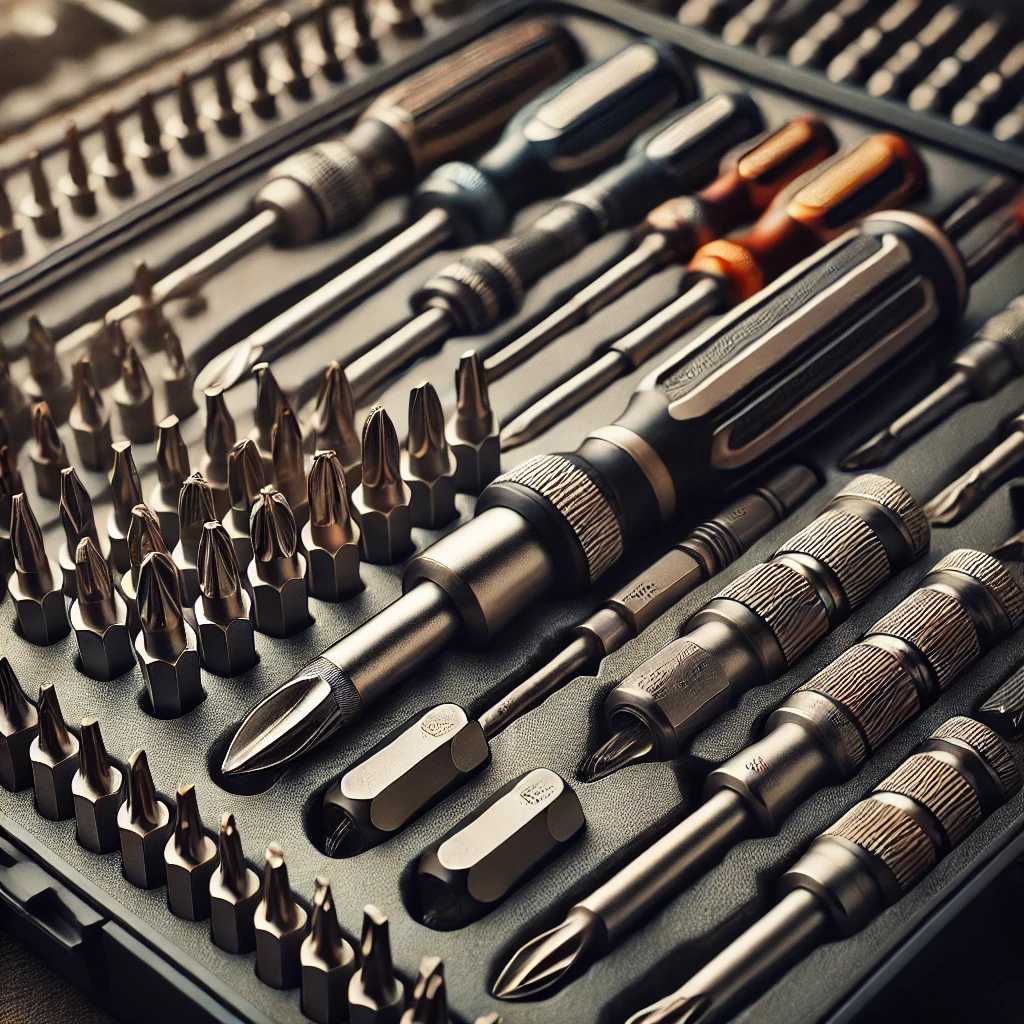
Recommended Tools for the Project
Before you begin fixing a leaky faucet without professional help, gather the necessary tools:
- Adjustable Wrench: Essential for loosening and tightening nuts and bolts.
- Screwdrivers: Both flathead and Phillips screwdrivers are required for various screws.
- Pliers: Useful for gripping and turning components.
- Plumber’s Tape: Ensures a watertight seal on threaded connections.
- Replacement Parts: Depending on the faucet type, you may need washers, O-rings, or cartridges.
- Bucket: To catch any water that might spill during the repair process.
- Flashlight: For better visibility in dimly lit areas under the sink.
Necessary Steps (1-10)
- Identify the Faucet Type: Determine if your faucet is a compression, ball, cartridge, or ceramic disk faucet.
- Turn Off the Water Supply: Locate the shut-off valves under the sink and turn them off.
- Plug the Drain: Use a sink plug or a rag to prevent small parts from falling down the drain.
- Remove the Faucet Handle: Use a screwdriver to remove the handle and expose the internal components.
- Disassemble the Faucet: Carefully take apart the faucet to access the faulty part causing the leak.
- Inspect and Replace Parts: Examine washers, O-rings, and cartridges for wear and replace them as needed.
- Clean Components: Clean any mineral buildup or debris from the faucet components.
- Reassemble the Faucet: Put the faucet back together in the reverse order of disassembly.
- Turn On the Water Supply: Slowly turn the water supply back on and check for leaks.
- Test the Faucet: Operate the faucet to ensure the leak is fixed and everything functions properly.
Comparisons
Comparing DIY faucet repair to hiring a professional plumber highlights several differences:
- Cost: DIY repair is more cost-effective, while professional services are expensive.
- Time: Professionals can fix the issue quickly, but DIY allows flexibility in timing.
- Quality: Professionals bring expertise and guarantee their work, while DIY relies on your skill level.
- Tools: Plumbers have specialized tools, while you may need to purchase or borrow them for DIY.
- Convenience: Professionals handle everything, but DIY gives you control over the process.
Tips & Tricks
Here are some additional tips to make fixing a leaky faucet without professional help easier:
- Take Photos: Photograph each step during disassembly to help with reassembly.
- Label Parts: Use labels or small bags to keep track of screws and parts.
- Use the Right Tools: Ensure you have the correct tools to avoid damaging components.
- Be Patient: Take your time to avoid mistakes and ensure a thorough repair.
- Check Manufacturer Instructions: Refer to the faucet’s manual for specific guidance.
- Have Spare Parts: Keep extra washers and O-rings on hand for future repairs.
- Consult Online Resources: Watch tutorial videos and read articles for additional help.
FAQs
Q: Can I fix a leaky faucet without professional help if I have no plumbing experience?
A: Yes, many leaky faucet repairs are straightforward and can be done by beginners. Follow detailed guides and use the correct tools to ensure success.
Q: How long does it take to fix a leaky faucet?
A: The time required depends on the faucet type and the severity of the leak. Most repairs can be completed within 1-2 hours.
Q: What causes a faucet to leak?
A: Common causes include worn-out washers, O-rings, or cartridges. Mineral buildup and corrosion can also contribute to leaks.
Q: How can I prevent future faucet leaks?
A: Regular maintenance, such as cleaning and replacing worn parts, can prevent leaks. Avoid using excessive force when turning the faucet on and off.
Q: Should I replace the entire faucet if it leaks?
A: Not necessarily. Many leaks can be fixed by replacing specific components. Only replace the faucet if it’s severely damaged or outdated.
Updates and Future Considerations
As plumbing technology evolves, new solutions for fixing a leaky faucet without professional help may become available. Consider the following:
- Smart Faucets: These faucets can detect leaks and alert you through a smartphone app.
- Eco-Friendly Parts: Look for replacement parts that promote water conservation.
- Advanced Tools: New tools designed for DIY repairs may simplify the process.
- Online Communities: Join DIY forums for the latest tips and advice on faucet repairs.
Cost or Price
Fixing a leaky faucet without professional help is an affordable DIY project. The cost includes:
- Replacement Parts: Typically between $1 and $20, depending on the part needed.
- Tools: Basic tools like wrenches and screwdrivers are often already available. Specialized tools may cost between $10 and $50.
- Time: The value of your time spent on the repair, usually around 1-2 hours.
By avoiding professional labor fees, which can range from $50 to $150 per hour, you save a significant amount of money.