Garbage disposals are incredibly convenient kitchen appliances that make food waste management easy. However, they require regular maintenance to ensure they function correctly and safely. One of the most crucial aspects of this maintenance is cleaning your garbage disposal. But why should you clean your garbage disposal? This blog will provide comprehensive insights into the benefits, drawbacks, tools required, steps to follow, comparisons, tips and tricks, frequently asked questions, future considerations, and costs associated with cleaning your garbage disposal.
Pros
Cleaning your garbage disposal offers several significant benefits:
- Improved Efficiency: Regular cleaning prevents clogs and buildup, ensuring your garbage disposal runs smoothly and efficiently.
- Enhanced Performance: Clean disposals process waste more effectively, reducing the chances of jams and malfunctions.
- Longer Lifespan: By maintaining a clean garbage disposal, you can extend its lifespan, saving money on replacements.
- Odor Control: Regular cleaning eliminates food residue that can cause unpleasant odors in your kitchen.
- Healthier Kitchen Environment: A clean disposal reduces the risk of bacteria and mold growth, promoting a healthier kitchen.
- Reduced Repair Costs: Preventive maintenance helps avoid costly repairs by addressing issues before they become major problems.
- Environmental Benefits: Cleaning your disposal ensures it operates efficiently, reducing waste and promoting environmentally friendly practices.
- Less Waste to Landfills: An efficient disposal reduces the amount of food waste sent to landfills.
- Reduced Water Usage: Clean disposals require less water to operate effectively.
- Energy Savings: A well-maintained disposal uses less energy, contributing to overall energy savings.
- Prevents Plumbing Issues: Clean disposals reduce the risk of plumbing issues that can lead to water waste.
- Sustainable Kitchen Practices: Regular cleaning supports sustainable kitchen practices by minimizing waste and resource usage.
Cons
While cleaning your garbage disposal has numerous benefits, there are also some drawbacks to consider:
- Time-Consuming: Regular cleaning requires time and effort, which might be inconvenient for some.
- Frequent Maintenance: Keeping your disposal clean demands consistent maintenance.
- Potential Mess: Cleaning can be messy, especially if there’s significant buildup.
- Chemical Exposure: Some cleaning methods involve chemicals that could be harmful if not used correctly.
- Risk of Damage: Incorrect cleaning techniques can damage the disposal or its components.
- Initial Learning Curve: Learning how to clean the disposal effectively might take some time.
- Costs: Although generally inexpensive, cleaning can incur costs for supplies and tools.
- Cleaning Supplies: Purchasing specialized cleaning products adds to the cost.
- Replacement Parts: In case of damage, replacing parts can be costly.
- Professional Services: Hiring professionals for deep cleaning can be expensive.
- Regular Investment: Continuous investment in cleaning materials and tools is required.
- Utility Costs: Using water and electricity for cleaning adds to utility costs.
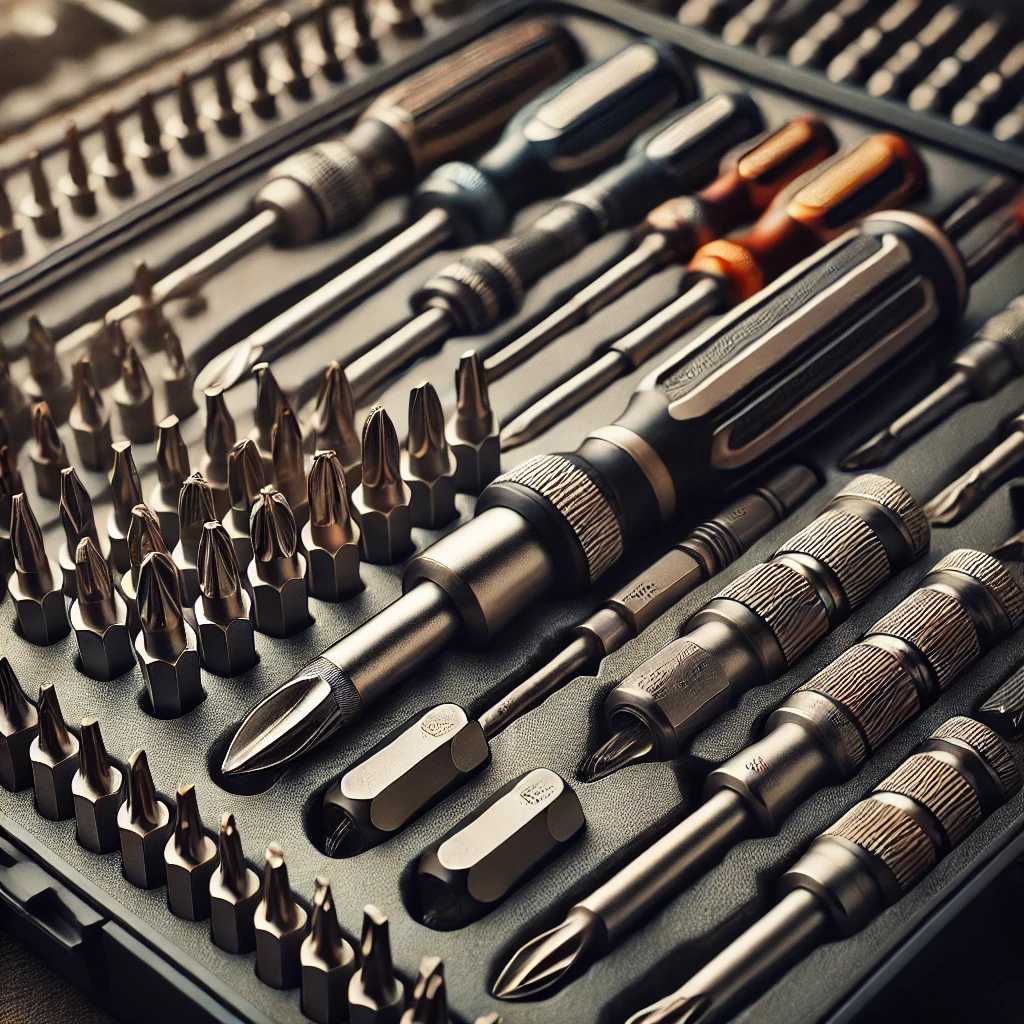
Recommended Tools for the Project
To clean your garbage disposal effectively, you’ll need the right tools:
- Cleaning Brushes: Specialized brushes designed for garbage disposals help reach and scrub all areas.
- Long-Handled Brushes: Ideal for reaching deep into the disposal.
- Pipe Cleaners: Useful for cleaning the small crevices.
- Toothbrushes: Can be used for detailed scrubbing.
- Scrub Pads: For tougher residue removal.
- Flexible Brushes: Designed to bend and reach difficult spots.
- Cleaning Solutions: Choose effective and safe cleaning solutions for your disposal.
- Vinegar and Baking Soda: A natural and effective cleaning combination.
- Commercial Cleaners: Specially formulated for garbage disposals.
- Lemon Juice: Helps with odor removal and cleaning.
- Bleach Solutions: For thorough disinfection (used sparingly).
- Ice Cubes and Salt: Helps clean and sharpen disposal blades.
- Protective Gear: Ensure safety while cleaning your garbage disposal.
- Rubber Gloves: Protect your hands from harsh chemicals and sharp blades.
- Safety Goggles: Prevent splashes from getting into your eyes.
- Apron: Keep your clothes clean while working.
- Face Mask: Protects from inhaling any harmful fumes.
- Ear Protection: Reduces noise exposure when running the disposal during cleaning.
Necessary Steps (1-10)
Follow these steps to clean your garbage disposal thoroughly:
- Turn Off the Power: Ensure the disposal is completely off to prevent accidents.
- Unplug the Unit: For added safety, unplug the disposal from the power source.
- Test the Switch: Flip the switch to make sure the unit is off.
- Disconnect Fuse: If possible, disconnect the fuse for extra precaution.
- Use a Multimeter: Check for any residual electrical current.
- Remove Debris: Clear out any visible food particles or debris from the disposal.
- Use Tongs or Pliers: Remove larger items that might be stuck.
- Inspect with a Flashlight: Look inside the disposal for hidden debris.
- Rinse with Water: Flush out loose particles with water.
- Scrape the Walls: Use a brush to dislodge stuck debris.
- Avoid Using Hands: Never use your hands to reach into the disposal.
- Prepare Cleaning Solution: Mix your chosen cleaning solution.
- Vinegar and Baking Soda: Mix equal parts for a natural cleaner.
- Commercial Cleaner: Follow the instructions on the product.
- Lemon Juice: Combine with water for a fresh-smelling solution.
- Bleach Solution: Dilute bleach with water for deep cleaning.
- Ice and Salt: Combine to help clean and sharpen blades.
- Scrub the Disposal: Use your cleaning brushes to scrub all accessible areas.
- Focus on Blades: Scrub the blades thoroughly to remove buildup.
- Clean the Walls: Ensure all sides are scrubbed clean.
- Reach the Underside: Don’t forget to clean the underside of the splash guard.
- Use Circular Motions: Effective for removing stubborn grime.
- Rinse Frequently: Rinse the brush to remove debris buildup.
- Flush with Water: Rinse the disposal thoroughly with water.
- Use Hot Water: Helps dissolve grease and grime.
- Run for a Few Minutes: Ensure all debris is flushed out.
- Check for Residual Debris: Inspect for any remaining particles.
- Repeat if Necessary: Flush again if needed.
- Ensure Proper Drainage: Confirm water is draining smoothly.
- Deodorize: Use deodorizing methods to eliminate any remaining odors.
- Citrus Peels: Grind citrus peels in the disposal.
- Baking Soda: Sprinkle baking soda into the disposal.
- Essential Oils: Add a few drops of essential oils.
- Lemon Juice: Pour lemon juice for a fresh scent.
- Commercial Deodorizers: Use as per instructions.
- Check for Leaks: Inspect the disposal and surrounding plumbing for leaks.
- Look for Drips: Check for any signs of water leakage.
- Tighten Connections: Ensure all connections are secure.
- Replace Gaskets: If necessary, replace worn gaskets.
- Inspect Seals: Check the seals for wear and tear.
- Monitor for Dampness: Look for damp spots under the sink.
- Test the Disposal: Run the disposal to ensure it’s working correctly.
- Run Cold Water: Always run cold water while testing.
- Listen for Unusual Noises: Check for any strange sounds.
- Test with Small Debris: Use small food particles to test.
- Ensure Smooth Operation: Confirm there are no jams.
- Monitor Performance: Observe for consistent performance.
- Reassemble if Necessary: If you’ve disassembled any parts, reassemble them carefully.
- Follow Manufacturer Instructions: Refer to the manual if needed.
- Ensure Proper Alignment: Align parts correctly to avoid issues.
- Secure All Screws: Tighten screws securely.
- Check for Proper Fit: Ensure all parts fit snugly.
- Test Again: Run the disposal to check assembly.
- Regular Maintenance: Establish a routine for regular cleaning.
- Weekly Rinsing: Rinse the disposal with hot water weekly.
- Monthly Deep Cleaning: Perform a thorough cleaning monthly.
- Avoid Grease: Don’t pour grease down the disposal.
- Use Cold Water: Always use cold water when running the disposal.
- Inspect Regularly: Check for signs of wear and tear.
Comparisons
Understanding the different methods and approaches to cleaning your garbage disposal can help you choose the best one for your needs:
- Natural Cleaners vs. Commercial Cleaners: Natural cleaners like vinegar and baking soda are eco-friendly and safe, while commercial cleaners are specifically formulated for disposals and might be more effective.
- Cost: Natural cleaners are generally cheaper.
- Availability: Commercial cleaners might be more readily available.
- Effectiveness: Commercial cleaners might work faster.
- Safety: Natural cleaners are safer for the environment.
- Ease of Use: Commercial cleaners often come with easy-to-follow instructions.
- Professional Cleaning vs. DIY Cleaning: Hiring a professional ensures thorough cleaning but can be costly, whereas DIY cleaning is budget-friendly and convenient.
- Cost: DIY is more cost-effective.
- Effectiveness: Professionals might do a more thorough job.
- Convenience: DIY can be done at any time.
- Expertise: Professionals have the expertise to handle complex issues.
- Frequency: DIY can be done more frequently.
- Manual vs. Automated Cleaning Tools: Manual tools like brushes require physical effort, while automated tools can simplify the process.
- Cost: Manual tools are generally cheaper.
- Effort: Automated tools require less physical effort.
- Effectiveness: Automated tools might clean more thoroughly.
- Maintenance: Manual tools require minimal maintenance.
- Safety: Automated tools might have safety features to prevent injuries.
- Chemical Cleaners vs. Enzyme-Based Cleaners: Chemical cleaners are powerful and quick-acting, while enzyme-based cleaners are environmentally friendly and gentle.
- Environmental Impact: Enzyme-based cleaners are more eco-friendly.
- Effectiveness: Chemical cleaners work faster.
- Safety: Enzyme-based cleaners are safer for household use.
- Availability: Chemical cleaners are widely available.
- Cost: Enzyme-based cleaners might be slightly more expensive.
- Routine Cleaning vs. Deep Cleaning: Routine cleaning maintains day-to-day cleanliness, while deep cleaning tackles stubborn buildup and ensures long-term maintenance.
- Frequency: Routine cleaning is done more frequently.
- Thoroughness: Deep cleaning is more thorough.
- Time Required: Routine cleaning is quicker.
- Effectiveness: Deep cleaning is more effective for severe buildup.
- Cost: Routine cleaning is cheaper in the long run.
Tips & Tricks
Implement these tips and tricks to ensure your garbage disposal stays clean and functional:
- Use Cold Water: Always run cold water while using the disposal to solidify grease and ensure proper grinding.
- Prevents Clogs: Cold water helps prevent clogs by solidifying fats.
- Improves Grinding: Solid waste grinds more effectively.
- Reduces Odors: Cold water helps wash away odors.
- Protects Pipes: Cold water prevents greasy buildup in pipes.
- Saves Energy: Using cold water conserves energy.
- Grind Citrus Peels: Regularly grind citrus peels to naturally clean and deodorize the disposal.
- Freshens Disposal: Citrus peels leave a fresh scent.
- Cleans Blades: The acidity helps clean the blades.
- Reduces Odors: Citrus peels help neutralize odors.
- Eco-Friendly: An environmentally friendly cleaning method.
- Easy and Inexpensive: Readily available and cost-effective.
- Avoid Fibrous Foods: Do not put fibrous foods like celery and corn husks in the disposal, as they can cause clogs.
- Prevents Clogs: Fibrous foods can wrap around the blades.
- Protects Motor: Reduces strain on the motor.
- Improves Performance: Ensures smoother operation.
- Saves on Repairs: Reduces the need for costly repairs.
- Enhances Lifespan: Helps extend the lifespan of the disposal.
- Regularly Run the Disposal: Even if you don’t have waste, run the disposal regularly to prevent rust and corrosion.
- Prevents Rust: Running the disposal keeps it rust-free.
- Lubricates Components: Keeps parts moving smoothly.
- Maintains Efficiency: Regular use ensures consistent performance.
- Reduces Odors: Running the disposal helps wash away lingering odors.
- Improves Lifespan: Regular use extends the lifespan of the unit.
- Flush with Vinegar and Baking Soda: Periodically flush the disposal with vinegar and baking soda to clean and deodorize.
- Effective Cleaner: Removes buildup effectively.
- Natural Deodorizer: Neutralizes unpleasant odors.
- Safe and Eco-Friendly: Non-toxic and environmentally safe.
- Cost-Effective: Inexpensive cleaning solution.
- Easy to Use: Simple and quick cleaning method.
FAQs
Q: How often should I clean my garbage disposal? A: It’s recommended to clean your garbage disposal once a week to prevent buildup and odors. For a deeper clean, perform a thorough cleaning once a month.
Q: Can I use bleach to clean my garbage disposal? A: Yes, but use it sparingly. Dilute bleach with water and rinse thoroughly to avoid damage to the disposal and pipes.
Q: Why does my garbage disposal smell bad? A: Bad odors usually come from food residue and bacteria buildup. Regular cleaning with natural deodorizers like lemon or vinegar can help eliminate these smells.
Q: Is it safe to put ice in my garbage disposal? A: Yes, grinding ice can help clean the disposal blades and remove buildup. Combine ice with salt for added cleaning power.
Q: Can I put coffee grounds in my garbage disposal? A: It’s best to avoid putting coffee grounds in the disposal, as they can accumulate and cause clogs. Dispose of coffee grounds in the trash or compost instead.
Updates and Future Considerations
Staying updated on new cleaning methods and disposal technologies can enhance your maintenance routine:
- New Cleaning Products: Stay informed about new cleaning solutions specifically designed for garbage disposals.
- Eco-Friendly Options: New environmentally friendly products.
- Improved Formulas: Enhanced effectiveness.
- Availability: Widely available in stores.
- Cost-Effective: Competitive pricing.
- Safety: Safer for household use.
- Technological Advancements: Keep an eye on advancements in garbage disposal technology for more efficient cleaning.
- Self-Cleaning Disposals: New models with self-cleaning features.
- Enhanced Blades: Improved blade technology for better grinding.
- Noise Reduction: Quieter operation.
- Energy Efficiency: More energy-efficient models.
- Smart Features: Integration with smart home systems.
- Alternative Cleaning Methods: Explore innovative and alternative cleaning methods as they emerge.
- Ultrasonic Cleaners: Potential use in disposals.
- Eco-Friendly Enzymes: Enzyme-based cleaners gaining popularity.
- DIY Techniques: New and effective DIY cleaning techniques.
- Microbial Cleaners: Cleaners using beneficial microbes.
- Steam Cleaning: Possible use of steam for deep cleaning.
- Preventive Measures: Implement preventive measures to reduce the need for frequent cleaning.
- Waste Segregation: Separate food waste to avoid clogs.
- Regular Inspections: Regularly inspect the disposal for issues.
- Maintenance Plans: Consider maintenance plans for professional upkeep.
- Education: Stay educated on best practices.
- Community Tips: Share and learn tips from the community.
Cost or Price
Understanding the costs associated with cleaning your garbage disposal can help you budget effectively:
- Cleaning Supplies: Basic cleaning supplies like brushes and natural cleaners are generally inexpensive.
- Vinegar and Baking Soda: Around $5 for both.
- Commercial Cleaners: Typically $10-$20.
- Cleaning Brushes: Between $5-$15.
- Protective Gear: Around $10 for gloves and goggles.
- Total Cost: Approximately $30 for initial supplies.
- Replacement Parts: If parts need replacing, consider the costs.
- Blades: $20-$50 depending on the model.
- Gaskets: Around $10.
- Motors: Can cost $100-$200.
- Total Replacement Cost: Varies based on parts needed.
- Professional Services: Hiring a professional for deep cleaning or repairs adds to the cost.
- Service Fees: Typically $50-$100 per hour.
- Total Cost: Depends on the extent of cleaning or repairs required.
- Long-Term Savings: Regular maintenance can save money in the long run by preventing costly repairs and replacements.
- Extended Lifespan: Reduces the need for new disposals.
- Fewer Repairs: Preventive maintenance avoids expensive repairs.
- Lower Utility Bills: Efficient disposals use less water and electricity.
- Sustainable Practices: Reduces overall waste and resource usage.
- Budgeting Tips: Plan your budget for regular cleaning and unexpected repairs.
- Monthly Budget: Allocate a small amount for regular maintenance.
- Emergency Fund: Set aside funds for unexpected repairs.
- Cost-Effective Solutions: Opt for DIY cleaning methods to save money.
- Compare Prices: Shop around for the best prices on supplies.
- Discounts and Coupons: Look for discounts and coupons on cleaning products.
By following these tips and understanding the costs, you can effectively manage the maintenance of your garbage disposal, ensuring it remains clean and functional for years to come.