When it comes to finishing the edges of your backsplash, a common dilemma arises: Should you caulk the perimeter of the backsplash or grout it? This decision impacts the durability, appearance, and maintenance of your backsplash. To help you make an informed choice, we’ll dive into the pros and cons of both options, recommend the best tools for the project, outline the necessary steps, compare caulk and grout, provide tips and tricks, answer frequently asked questions, and discuss future considerations and costs.
Pros
Choosing whether to caulk the perimeter of the backsplash or grout it comes with distinct advantages. Understanding these benefits can guide your decision:
- Flexibility with Caulk: Caulk is flexible and can absorb movement and vibrations, preventing cracks and maintaining a seamless finish.
- Waterproof Seal: Caulk provides an excellent waterproof barrier, ideal for areas exposed to moisture such as kitchens and bathrooms.
- Easy Application: Caulking is generally easier and quicker to apply than grout, making it a great option for DIY projects.
- Aesthetic Appeal: Caulk is available in various colors and can be matched to the tiles or wall, creating a cohesive look.
- Maintenance: Caulk is easier to clean and maintain compared to grout, which can stain and develop mold over time.
Choosing grout, on the other hand, also has its benefits:
- Strength and Durability: Grout is robust and can withstand heavy use and high temperatures, making it suitable for areas around stoves and cooktops.
- Traditional Finish: Grout offers a more traditional and professional finish, often preferred in high-end kitchen designs.
- Wide Range of Options: Grout comes in various types, including sanded, unsanded, epoxy, and more, allowing for customization based on needs and preferences.
- Filling Larger Gaps: Grout is better suited for filling larger gaps between tiles and ensuring a solid bond.
- Consistency: Grout maintains a consistent look over time without the need for frequent touch-ups.
Cons
While both caulk and grout have their advantages, they also come with drawbacks:
- Caulk Longevity: Caulk may need to be reapplied more frequently than grout, as it can degrade and peel over time.
- Color Matching: Finding the perfect color match for caulk can be challenging, especially if the tile or wall color is unique.
- Limited Use: Caulk is not suitable for all tile applications and may not provide the same level of strength and durability as grout.
- Shrinkage and Cracking: Poor-quality caulk can shrink and crack, compromising the seal and aesthetics.
- Cleaning Challenges: Some types of caulk can attract dirt and grime, making cleaning difficult.
Grout also has its disadvantages:
- Susceptible to Staining: Grout can stain easily and is prone to mold and mildew if not properly sealed and maintained.
- Complex Application: Applying grout can be more labor-intensive and time-consuming, often requiring professional installation.
- Potential Cracking: Grout is rigid and can crack if the underlying surface shifts or expands.
- Maintenance Requirements: Grout needs to be sealed and may require regular cleaning and resealing to maintain its appearance and functionality.
- Higher Cost: Grouting can be more expensive than caulking due to the materials and labor involved.
Recommended Tools for the Project
To successfully caulk the perimeter of the backsplash or grout it, you’ll need the right tools. Here’s a list of essential tools for each option:
Tools for Caulking:
- Caulk Gun: A high-quality caulk gun ensures smooth and even application.
- Caulk: Choose a waterproof, mildew-resistant caulk in a color that matches your tiles.
- Utility Knife: For cutting the caulk tube tip to the desired size.
- Masking Tape: Helps create clean, straight lines and prevents excess caulk from spreading.
- Caulk Smoothing Tool: Ensures a neat and professional finish.
Tools for Grouting:
- Grout Float: A rubber float is used to spread grout evenly into the tile joints.
- Grout: Select the appropriate type of grout (sanded, unsanded, epoxy) for your tiles and application.
- Mixing Bucket: For mixing grout to the right consistency.
- Grout Sponge: For cleaning excess grout from the tile surface.
- Sealant: Protects grout from stains and moisture.
Necessary Steps (1-10)
Whether you’re caulking or grouting, follow these steps for a successful project:
- Prepare the Area: Clean the tiles and remove any old caulk or grout. Ensure the surface is dry and free of dust and debris.
- Choose the Right Product: Select the appropriate caulk or grout based on your needs and preferences.
- Apply Masking Tape: For caulking, apply masking tape along the edges to create clean lines.
- Cut the Caulk Tube Tip: Cut the caulk tube tip at a 45-degree angle for better control and precision.
- Load the Caulk Gun: Insert the caulk tube into the caulk gun and squeeze the trigger to release the caulk.
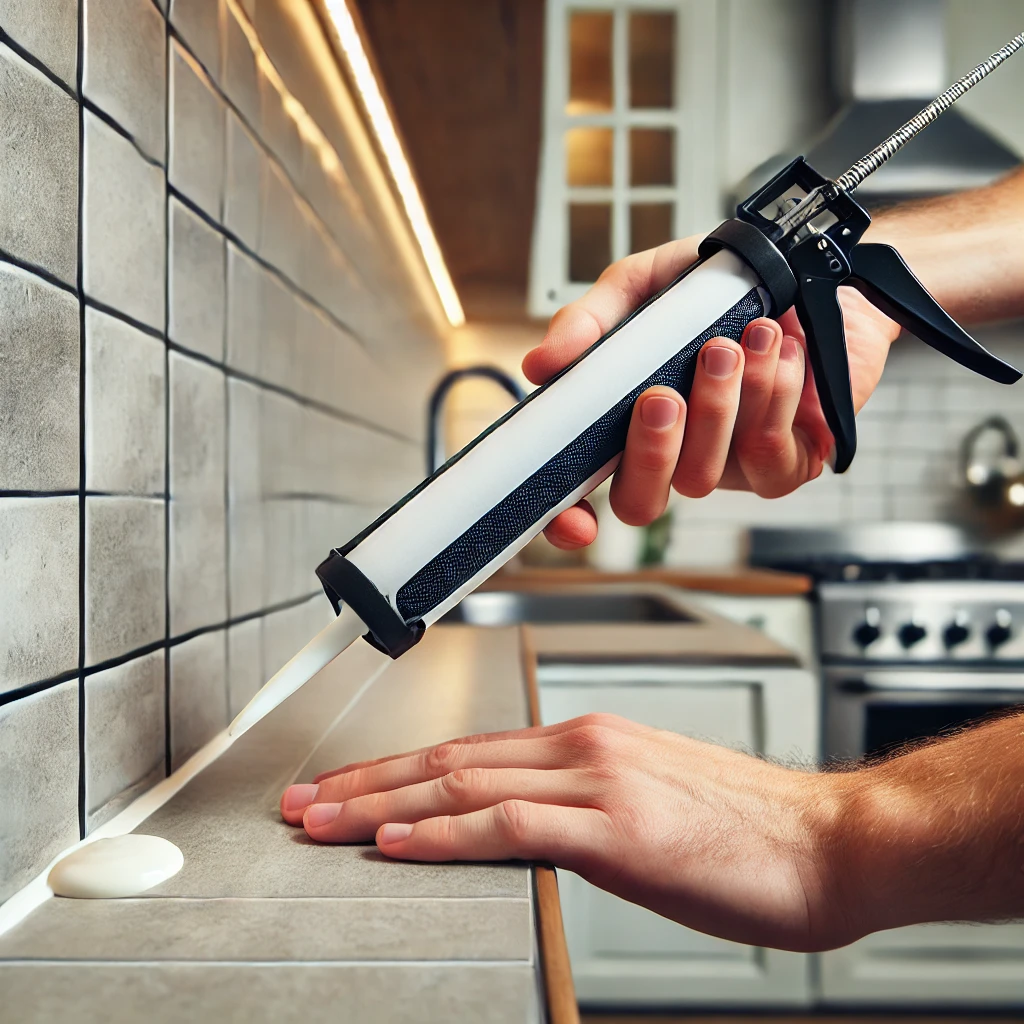
- Apply Caulk: Hold the caulk gun at a 45-degree angle and apply a continuous bead of caulk along the perimeter.
- Smooth the Caulk: Use a caulk smoothing tool to smooth the bead and remove excess caulk.
- Remove Masking Tape: Carefully remove the masking tape before the caulk dries.
- Grout Application: For grouting, mix the grout according to the manufacturer’s instructions and use a grout float to spread it into the joints.
- Clean Excess Grout: Use a grout sponge to wipe away excess grout and ensure a smooth finish.
Comparisons
Comparing caulk and grout involves evaluating their performance, application, and maintenance:
- Performance: Caulk is flexible and waterproof, ideal for areas exposed to moisture. Grout is stronger and more durable, better suited for high-traffic areas.
- Application: Caulking is easier and quicker, while grouting requires more effort and skill.
- Maintenance: Caulk needs to be replaced more frequently, while grout requires regular sealing and cleaning.
Tips & Tricks
Maximize your results with these tips and tricks:
- Use Painter’s Tape: For clean lines when caulking, apply painter’s tape on either side of the joint.
- Work in Sections: Apply caulk or grout in small sections to prevent it from drying before you can smooth it out.
- Keep a Steady Hand: For even application, maintain a steady hand and consistent pressure when using a caulk gun.
- Choose the Right Grout: For larger gaps, use sanded grout; for smaller joints, use unsanded grout.
- Seal Grout: Always seal grout after it has cured to protect against stains and moisture.
FAQs
Q: Can I use caulk and grout together? A: Yes, you can use caulk for the perimeter and grout for the tile joints to take advantage of both materials’ benefits.
Q: How often should I replace caulk? A: Caulk should be inspected annually and replaced if it shows signs of cracking or peeling.
Q: Is epoxy grout better than regular grout? A: Epoxy grout is more durable and resistant to stains but can be more challenging to apply and more expensive.
Q: Can I paint over caulk? A: Yes, you can paint over caulk, but ensure it is paintable caulk and fully cured before painting.
Q: How long does grout take to cure? A: Grout typically takes 24-48 hours to cure, but it should be kept dry and undisturbed for at least 72 hours for best results.
Updates and Future Considerations
As materials and techniques evolve, stay informed about new products and methods for caulking and grouting. Future considerations might include advanced sealants, improved caulking guns, and innovative grout formulations that enhance durability and ease of use.
Cost or Price
The cost of caulking or grouting the perimeter of a backsplash varies based on materials and labor. Caulk is generally more affordable, with tubes costing between $5 to $10 each. Grout can range from $10 to $30 per bag, depending on the type. Professional installation can add to the cost, with caulking services averaging $50 to $150 and grouting services ranging from $200 to $500.