Radon is a colorless, odorless radioactive gas that can pose significant health risks if it accumulates in your home. Knowing whether you need a radon mitigation system is crucial for maintaining a safe living environment. This blog post will guide you through the pros and cons of installing a radon mitigation system, recommended tools, necessary steps, comparisons, tips, FAQs, updates, and cost considerations.
Pros of a Radon Mitigation System
1. Improved Indoor Air Quality
- Reduces radon levels significantly
- Minimizes health risks associated with long-term radon exposure
- Enhances overall air quality by eliminating other harmful gases
2. Health Benefits
- Lowers the risk of lung cancer
- Protects children and pets from radon exposure
- Provides peace of mind knowing your home is safe
3. Increased Home Value
- Makes your home more attractive to potential buyers
- Can be a selling point during real estate transactions
- Demonstrates proactive home maintenance
4. Compliance with Regulations
- Meets local and federal safety standards
- Avoids potential fines or legal issues
- Ensures your home is up to code
5. Cost-Efficiency
- Long-term savings on health-related expenses
- Potential for lower home insurance premiums
- Energy-efficient systems reduce utility bills
Cons of a Radon Mitigation System
1. Initial Installation Cost
- Can be expensive, ranging from $800 to $1,500
- May require professional installation for optimal results
- Potential need for additional home modifications
2. Maintenance Requirements
- Regular system checks are necessary
- Possible need for occasional repairs or replacements
- Time and effort required to maintain the system
3. Aesthetic Impact
- Visible components of the system may affect home aesthetics
- Requires careful planning to integrate seamlessly
- May need creative solutions to hide the system
4. Limited DIY Options
- Complex installation may not be suitable for DIY
- Requires specific tools and expertise
- Higher risk of improper installation leading to inefficiency
5. Variable Effectiveness
- Effectiveness can vary based on home structure and location
- May require additional measures for complete mitigation
- Results can depend on the quality of the installation
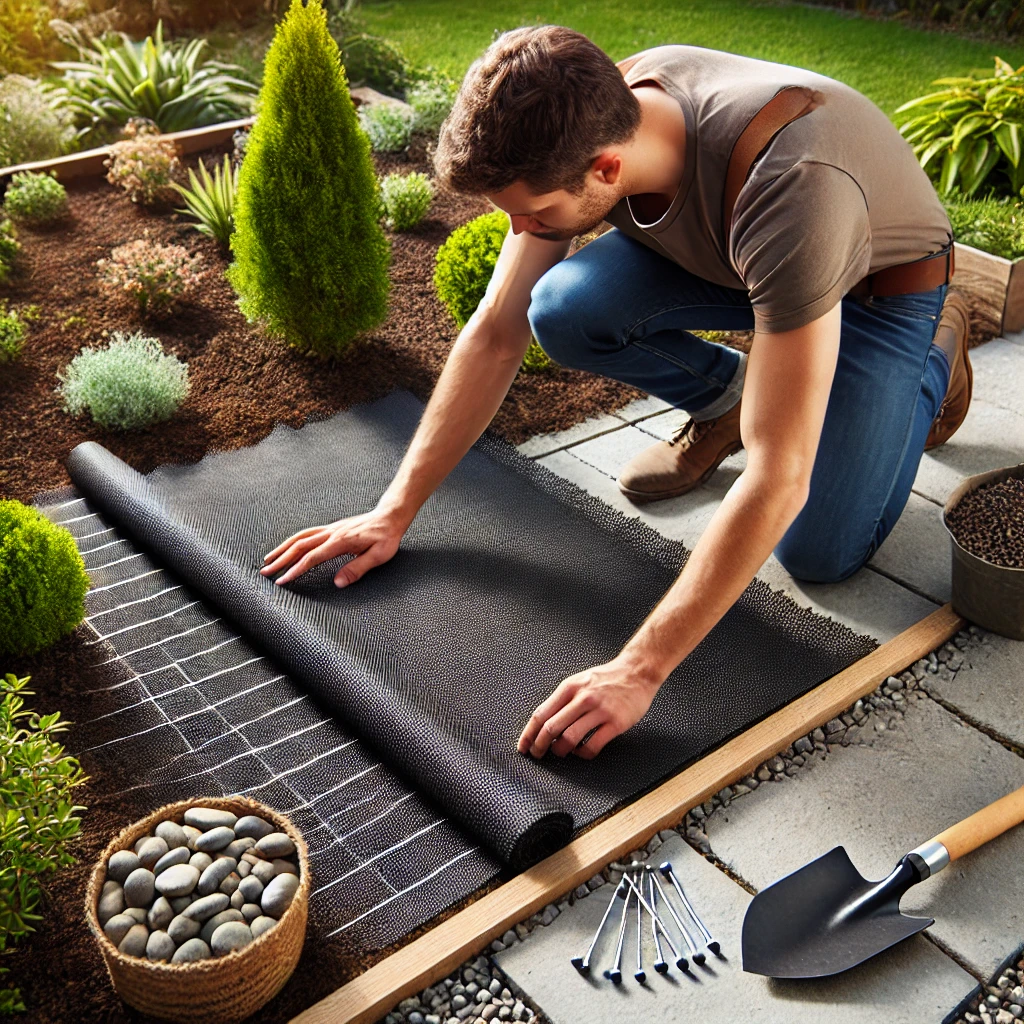
Recommended Tools for the Project
1. Radon Test Kits
- Essential for measuring initial radon levels
- Provides accurate and reliable results
- Available in short-term and long-term options
2. Radon Mitigation Fan
- Crucial for reducing radon levels
- Energy-efficient models available
- Different sizes to suit various home structures
3. PVC Piping
- Necessary for venting radon gas outside
- Durable and easy to install
- Available in various diameters
4. Sealing Materials
- Used to seal cracks and openings in the foundation
- Prevents radon from entering the home
- Includes caulk, sealant, and polyurethane foam
5. Manometer
- Measures pressure differences to ensure system efficiency
- Helps in regular system maintenance
- Easy to read and use
6. Ventilation Fans
- Improves overall air circulation
- Reduces radon levels further
- Can be installed in basements and crawl spaces
7. Professional Consultation
- Ensures proper system design and installation
- Provides expert advice and recommendations
- Can conduct post-installation testing
Necessary Steps (1-10)
- Test Your Home for Radon
- Purchase a radon test kit
- Place it in the lowest livable area
- Follow the instructions carefully
- Send the kit to the lab for analysis
- Analyze Test Results
- Wait for the lab results
- Determine if radon levels are above 4 pCi/L
- Consider retesting for accuracy
- Document the results for future reference
- Consult a Professional
- Contact a certified radon mitigation specialist
- Discuss your test results and concerns
- Get a detailed assessment of your home
- Request a written estimate
- Choose the Right System
- Decide between active and passive systems
- Consider the layout and size of your home
- Evaluate the cost and maintenance requirements
- Select a system that suits your needs
- Prepare the Installation Area
- Clear the installation area of any obstructions
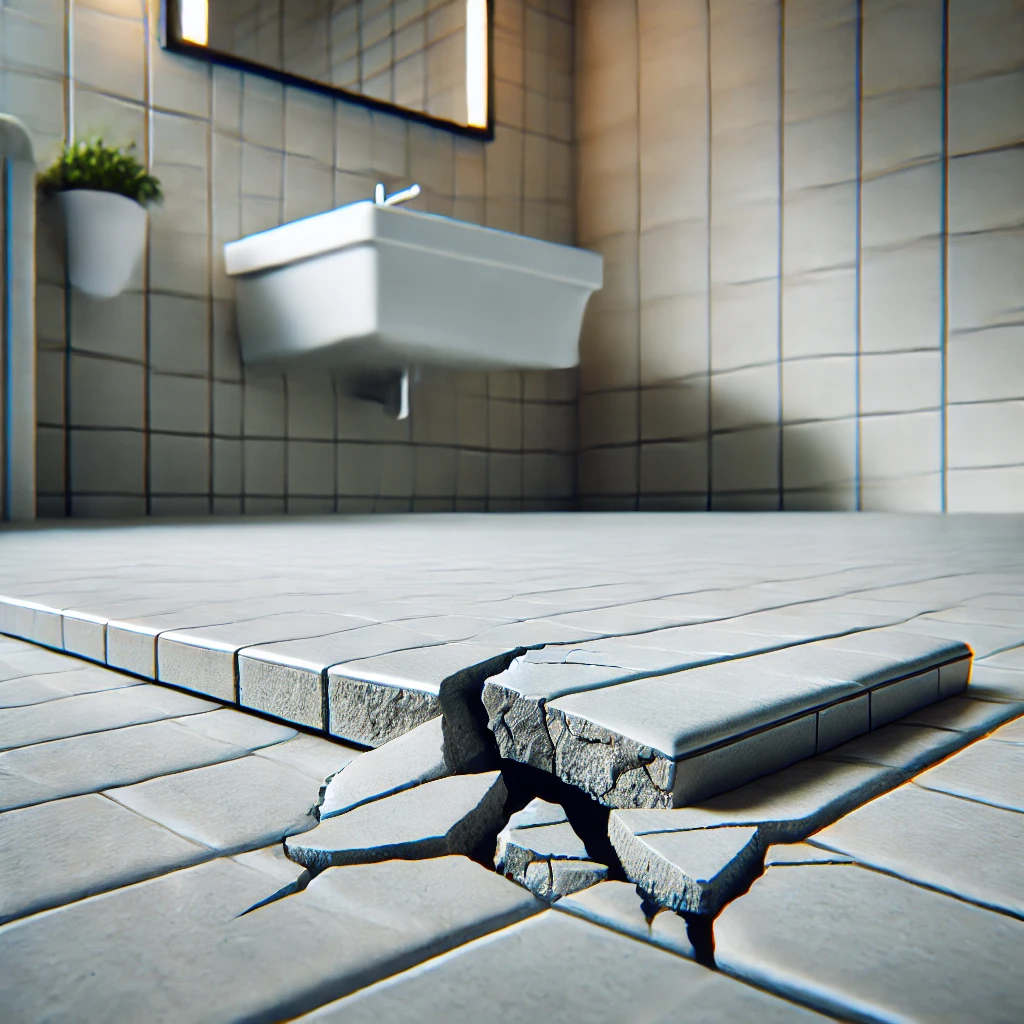
- Identify cracks and openings in the foundation
- Gather all necessary tools and materials
- Ensure the area is well-ventilated
- Install the Mitigation System
- Follow the professional’s instructions
- Begin with the radon mitigation fan installation
- Connect PVC piping to vent radon outside
- Seal any cracks and openings
- Check System Pressure
- Use a manometer to measure pressure differences
- Adjust the system as needed
- Ensure there is adequate suction
- Verify that radon levels are being reduced
- Seal the System
- Double-check all seals and connections
- Use high-quality sealing materials
- Ensure the system is airtight
- Conduct a final inspection
- Post-Installation Testing
- Conduct a follow-up radon test
- Place the test kit in the same location as before
- Send the kit to the lab for analysis
- Compare results to initial test
- Regular Maintenance
- Schedule annual system checks
- Replace any worn or damaged components
- Monitor radon levels periodically
- Keep detailed maintenance records
Comparisons
1. Active vs. Passive Systems
- Active systems use fans to reduce radon levels actively
- Passive systems rely on natural pressure differentials
- Active systems are more effective but costlier
- Passive systems are less intrusive but may be less effective
2. DIY vs. Professional Installation
- DIY installation is cheaper but requires more effort
- Professional installation ensures proper setup
- DIY may involve trial and error
- Professionals provide warranties and guarantees
3. Different Types of Fans
- Inline fans are quieter and more discreet
- Exterior fans are easier to maintain
- Different sizes and capacities available
- Energy-efficient models can reduce utility costs
4. Short-Term vs. Long-Term Testing
- Short-term tests provide quick results
- Long-term tests offer more accurate averages
- Short-term tests are cheaper
- Long-term tests are more reliable for decision-making
5. Sealing Materials
- Caulk is easy to apply but less durable
- Polyurethane foam provides better sealing
- Different brands offer varying quality
- Professional-grade materials ensure longevity
Tips & Tricks
1. Test Regularly
- Test your home for radon at least once every two years
- Retest after any major renovations
- Keep records of all test results
2. Maintain Your System
- Regularly check for wear and tear
- Replace fans and filters as needed
- Keep the vent pipes clear of obstructions
3. Improve Ventilation
- Increase overall home ventilation
- Use exhaust fans in high-moisture areas
- Keep windows open when possible
4. Seal Entry Points
- Pay attention to cracks in the foundation
- Seal around pipes and utility lines
- Use high-quality sealants for durability
5. Monitor Weather Conditions
- Radon levels can fluctuate with weather changes
- Test during different seasons for accurate results
- Adjust system settings as needed
6. Educate Your Family
- Make sure everyone understands the risks of radon
- Teach family members how to test for radon
- Encourage regular system checks
FAQs (Frequently Asked Questions)
1. What is radon, and why is it dangerous?
Radon is a radioactive gas that naturally occurs from the decay of uranium in soil, rock, and water. It can seep into homes through cracks and openings in the foundation. Long-term exposure to high levels of radon increases the risk of lung cancer, making it essential to monitor and mitigate radon levels in your home.
2. How can I test for radon in my home?
You can test for radon using a radon test kit, available at most hardware stores or online. Place the kit in the lowest livable area of your home, follow the instructions carefully, and send it to a lab for analysis. Short-term tests provide quick results, while long-term tests offer a more accurate average.
3. How does a radon mitigation system work?
A radon mitigation system works by reducing radon levels in your home. It typically involves a radon mitigation fan that draws radon gas from beneath the foundation and vents it outside through PVC piping. Sealing cracks and openings in the foundation also helps prevent radon from entering your home.
4. Is professional installation necessary for a radon mitigation system?
While DIY installation is possible, professional installation is recommended for optimal results. Certified radon mitigation specialists have the expertise and tools to ensure proper system design and installation. They can also provide post-installation testing and maintenance services.
5. How much does a radon mitigation system cost?
The cost of a radon mitigation system can range from $800 to $1,500, depending on the size and layout of your home, the type of system, and whether you choose professional installation. Long-term savings on health-related expenses and potential home value increases can offset the initial cost.
Updates and Future Considerations
As technology advances, radon mitigation systems are becoming more efficient and easier to install. New materials and methods are being developed to improve system performance and durability. Staying informed about the latest updates in radon mitigation technology can help you make better decisions for your home.
Future considerations include:
- Enhanced radon detection methods
- More energy-efficient mitigation systems
- Advanced sealing materials for better durability
- Integration with smart home technology
- Improved DIY options for homeowners
Cost or Price
Initial Cost: The initial cost of a radon mitigation system can range from $800 to $1,500, depending on the type and complexity of the system, as well as the size and layout of your home. Professional installation may add to the cost but ensures proper setup and effectiveness.
Maintenance Costs: Ongoing maintenance costs are relatively low, typically involving periodic system checks and occasional replacement of components like fans and filters. Regular maintenance helps ensure the system’s longevity and continued effectiveness in reducing radon levels.
Long-Term Savings: Investing in a radon mitigation system can lead to long-term savings by reducing health-related expenses and potentially lowering home insurance premiums. Additionally, a properly installed and maintained system can increase your home’s value, making it a worthwhile investment.
Cost Comparison: When comparing the cost of different systems, consider factors like the type of system (active vs. passive), the quality of materials used, and the level of professional expertise required. While cheaper DIY options are available, professional installation offers peace of mind and ensures optimal performance.
Determining whether you need a radon mitigation system is crucial for ensuring a safe living environment. By weighing the pros and cons, understanding the necessary tools and steps, and considering the cost implications, you can make an informed decision about installing a radon mitigation system in your home. Regular testing, proper maintenance, and staying updated on the latest advancements in radon mitigation technology will help you maintain a healthy and radon-free home.