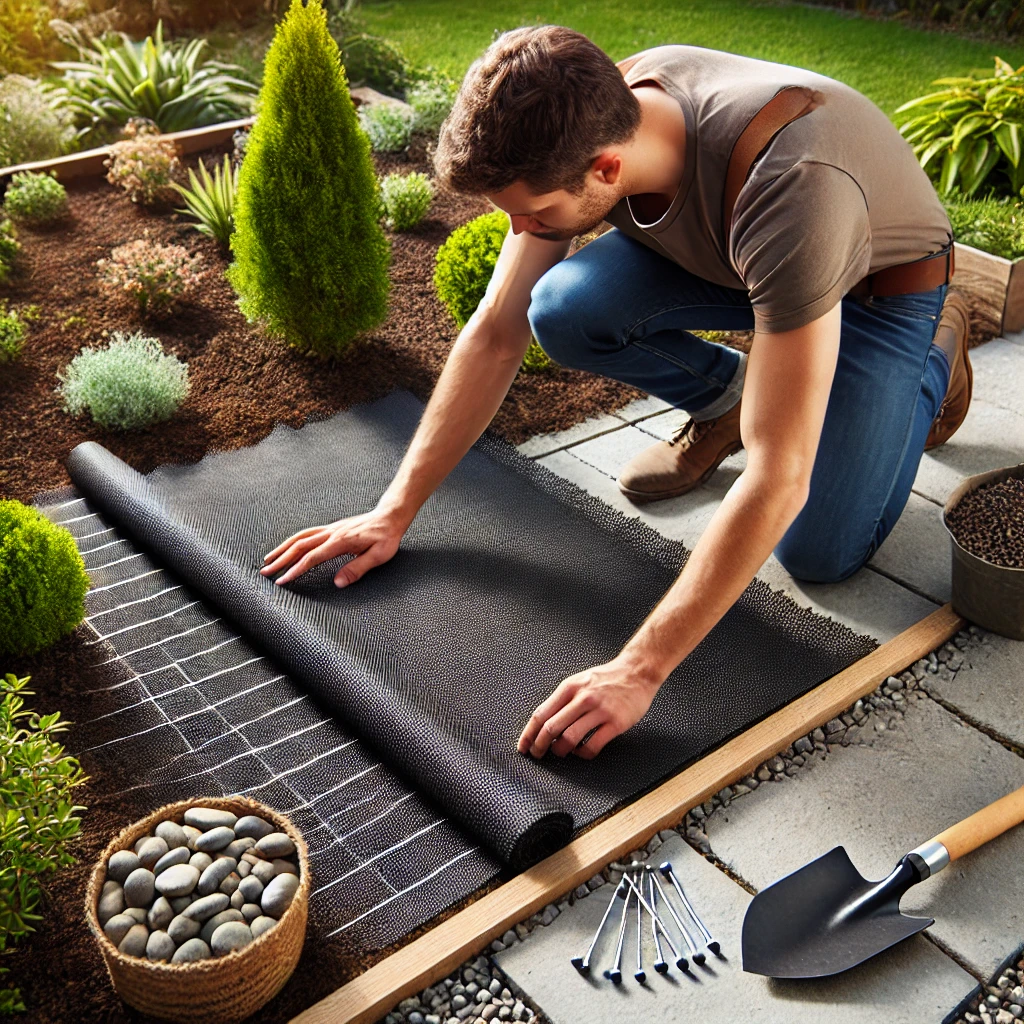
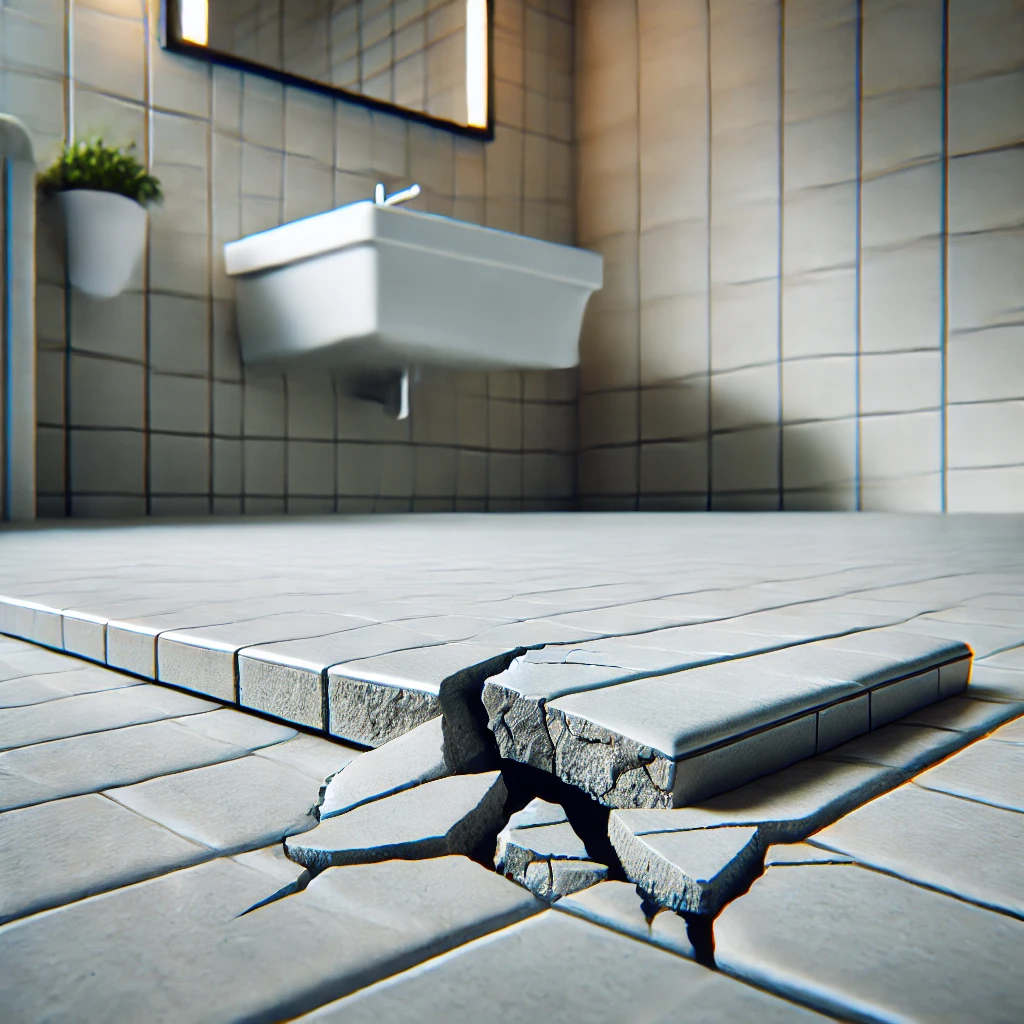
Drywall cracks can be unsightly and detract from the overall aesthetic of your home. Whether you’re dealing with hairline fractures or more significant damage, fixing cracked drywall is a manageable DIY project that can save you money and restore the look of your walls. In this guide, we’ll cover everything you need to know about fixing cracked drywall, from the pros and cons to the tools required, and provide detailed steps to help you achieve professional results.
Pros
Fixing cracked drywall has numerous benefits, which make tackling this DIY project worthwhile. Here are some of the key advantages:
- Cost-Effective: Repairing drywall cracks yourself is much cheaper than hiring a professional. You can save money on labor costs and only need to invest in basic tools and materials.
- Improves Home Aesthetics: Cracks in drywall can be an eyesore. Fixing them improves the overall appearance of your home, making it look well-maintained and new.
- Prevents Further Damage: Small cracks can become larger over time if left untreated. Repairing them promptly can prevent more extensive damage and higher repair costs in the future.
- Boosts Property Value: A well-maintained home with no visible cracks can increase your property value. Potential buyers are more likely to be impressed by a house that looks in good condition.
- Personal Satisfaction: Successfully fixing drywall cracks can give you a sense of accomplishment. It’s a practical skill that can be useful for other home improvement projects.
Addressing drywall cracks promptly and effectively ensures your walls remain in good condition, enhancing both the appearance and value of your home.
Cons
While fixing cracked drywall has many benefits, there are also some potential downsides to consider:
- Time-Consuming: Depending on the extent of the damage, repairing drywall can be a time-consuming task. It requires patience and precision to ensure a seamless finish.
- Messy Process: The repair process can be messy, involving dust, debris, and wet compounds. Proper preparation and cleanup are necessary to keep your home tidy.
- Skill Level: While it’s a manageable DIY project, fixing drywall cracks requires some basic handyman skills. Inexperienced individuals might find it challenging to achieve a professional-looking result.
- Initial Investment: Although it’s cost-effective in the long run, you may need to invest in specific tools and materials if you don’t already have them. This initial investment can be a barrier for some.
- Potential for Mistakes: Mistakes such as over-sanding, improper application of compound, or insufficient drying time can result in visible imperfections or the need for redoing the work.
Weighing the pros and cons helps you make an informed decision about whether to tackle this project yourself or seek professional help.
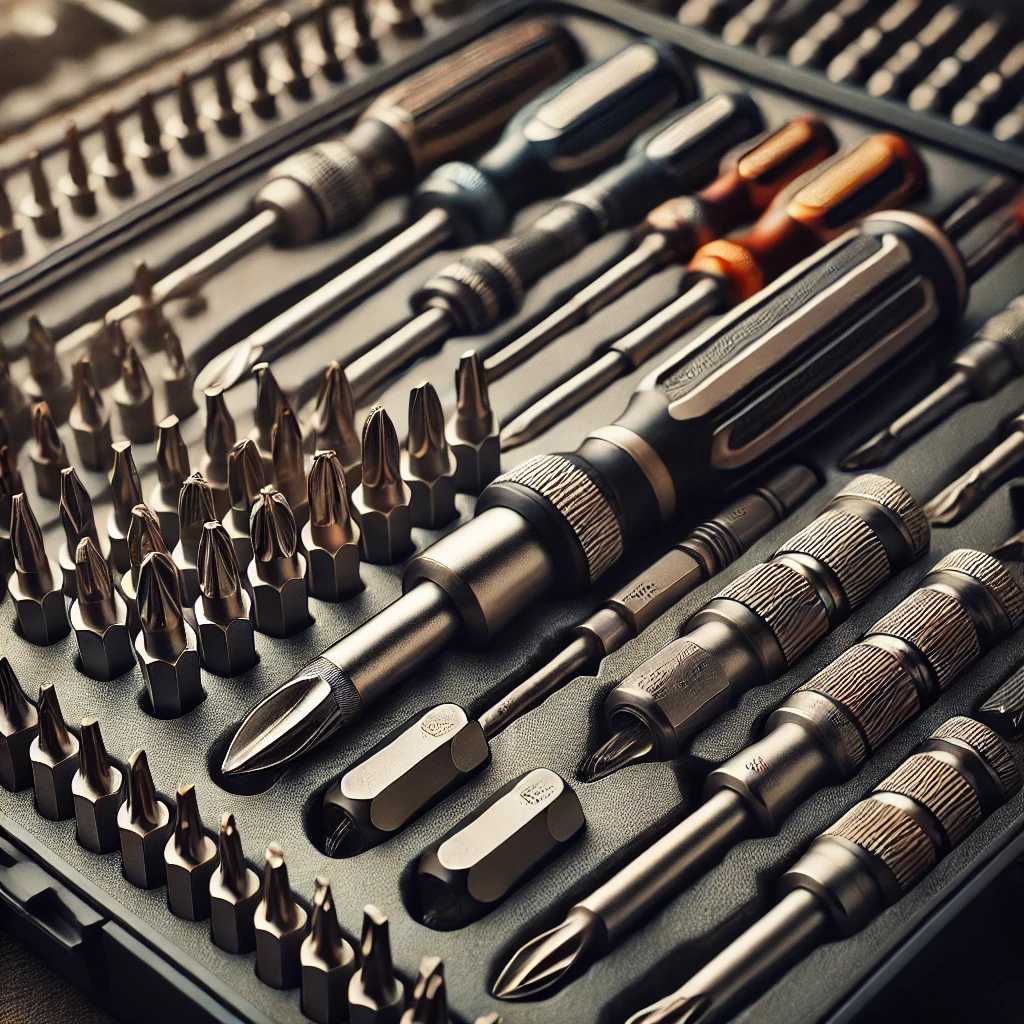
Recommended Tools for the Project
To fix cracked drywall efficiently, you’ll need a set of essential tools. Here are the recommended items:
- Utility Knife: A sharp utility knife is necessary for cutting away damaged drywall and trimming the edges of cracks.
- Drywall Saw: For larger cracks or holes, a drywall saw can help you cut out the damaged section cleanly.
- Putty Knife: Various sizes of putty knives are useful for applying joint compound and smoothing out the surface.
- Sanding Block: Sanding blocks or sandpaper are essential for smoothing the patched area and blending it with the surrounding wall.
- Joint Compound: Also known as drywall mud, this is used to fill in cracks and create a smooth finish.
- Drywall Tape: This tape reinforces the joint compound and helps prevent future cracks.
- Primer and Paint: To match the repaired area with the rest of the wall, you’ll need primer and paint that match the existing color.
- Dust Mask and Goggles: Safety gear is important to protect yourself from dust and debris during the repair process.
- Measuring Tape and Pencil: For precise measurements and marking the area to be repaired.
Having the right tools on hand ensures a smoother repair process and better results.
Necessary Steps (1-10)
Here’s a detailed step-by-step guide to help you fix cracked drywall:
- Prepare the Area: Clear the area around the crack and cover the floor with a drop cloth to catch debris.
- Cut Away Damaged Drywall: Use a utility knife to cut away any loose or damaged drywall around the crack.
- Sand the Edges: Smooth the edges of the cut area with a sanding block to ensure a clean surface for the patch.
- Apply Drywall Tape: Place drywall tape over the crack, pressing it firmly into the surface to adhere properly.
- Mix Joint Compound: Prepare the joint compound according to the manufacturer’s instructions.
- Apply First Layer of Compound: Use a putty knife to spread a thin layer of joint compound over the tape, feathering the edges to blend with the surrounding wall.
- Let it Dry: Allow the compound to dry completely, which may take several hours or overnight.
- Sand the Surface: Lightly sand the dried compound to smooth out any rough edges or imperfections.
- Apply Additional Layers: Repeat steps 6-8, applying additional layers of joint compound as needed to build up the surface and achieve a smooth finish.
- Prime and Paint: Once the final layer of compound is dry and sanded, apply primer and then paint to match the rest of the wall.
Following these steps carefully ensures a professional-looking repair that blends seamlessly with your existing walls.
Comparisons
When it comes to fixing cracked drywall, there are several methods and materials you can use. Here’s a comparison of some common options:
- Traditional Joint Compound vs. Quick-Set Compound: Traditional joint compound is easy to work with and ideal for beginners, but it takes longer to dry. Quick-set compounds dry faster, allowing for quicker repairs but require more skill to apply properly.
- Paper Tape vs. Mesh Tape: Paper tape is stronger and provides a smoother finish, but mesh tape is easier to apply and adheres better to uneven surfaces.
- DIY vs. Professional Repair: DIY repairs are cost-effective and satisfying but can be time-consuming and may not achieve professional results. Hiring a professional ensures a high-quality finish but comes at a higher cost.
- Pre-Mixed Compound vs. Powdered Compound: Pre-mixed joint compound is convenient and ready to use, but powdered compound allows for better control over the consistency and is often more economical.
- Patch Kits vs. Custom Repairs: Patch kits are convenient for small repairs and include all necessary materials, but custom repairs using individual tools and materials provide more flexibility and potentially better results for larger cracks.
Understanding these comparisons helps you choose the best approach for your specific repair needs.
Tips & Tricks
Here are some helpful tips and tricks to ensure your drywall repair project goes smoothly:
- Work in a Well-Ventilated Area: Sanding and applying joint compound can create dust and fumes. Ensure your workspace is well-ventilated to protect your health.
- Use Thin Layers of Compound: Applying thin layers of joint compound reduces drying time and minimizes the risk of cracking.
- Feather the Edges: Feathering the edges of each layer of compound helps blend the patch with the surrounding wall, creating a seamless finish.
- Sand Between Layers: Lightly sanding between layers of compound removes imperfections and ensures a smooth surface for the next layer.
- Prime Before Painting: Applying a primer before painting seals the repaired area and provides a consistent base for the paint.
- Match Paint Color: Use the same paint color as the existing wall to ensure the repair blends in perfectly. If the color has faded, consider repainting the entire wall for a uniform look.
- Take Your Time: Rushing the repair process can lead to mistakes. Allow sufficient drying time for each layer of compound and take your time sanding and painting.
- Use Quality Tools: Investing in quality tools makes the repair process easier and helps achieve professional results.
- Practice on Scrap Drywall: If you’re new to drywall repair, practice on a piece of scrap drywall to build your confidence and skills before tackling the actual repair.
Implementing these tips and tricks will help you achieve a flawless drywall repair.
FAQs
Q: Can I fix cracked drywall myself, or should I hire a professional?
A: Fixing cracked drywall is a manageable DIY project for most homeowners. With the right tools and a bit of patience, you can achieve professional-looking results. However, if you’re dealing with extensive damage or lack confidence in your skills, hiring a professional might be a better option.
Q: How long does it take to fix cracked drywall?
A: The time required to fix cracked drywall depends on the extent of the damage and the drying time for the joint compound. Generally, the process can take anywhere from a few hours to a couple of days, including drying and sanding time.
Q: What causes drywall cracks?
A: Drywall cracks can be caused by various factors, including settling of the house, temperature and humidity changes, improper installation, and structural movement. Identifying and addressing the underlying cause can help prevent future cracks.
Q: Do I need to repaint the entire wall after fixing a crack?
A: If you can match the paint color exactly, you can repaint just the repaired area. However, if the existing paint has faded or you can’t find an exact match, repainting the entire wall ensures a uniform appearance.
Q: How can I prevent future drywall cracks?
A: To prevent future cracks, ensure your home’s foundation is stable, maintain consistent indoor humidity levels, and avoid placing heavy objects on walls. Properly installing drywall and using high-quality materials can also reduce the risk of cracking.
Addressing common questions provides clarity and helps readers feel confident in their ability to fix cracked drywall.
Updates and Future Considerations
Keeping your drywall in good condition requires ongoing maintenance and awareness of potential issues. Here are some future considerations and updates:
- Regular Inspections: Periodically inspect your walls for new cracks or signs of damage. Early detection allows for prompt repairs, preventing larger issues.
- Addressing Structural Issues: If you notice frequent or large cracks, it might indicate underlying structural problems. Consult a professional to assess and address these issues.
- Upgrading Materials: As building materials evolve, consider using advanced drywall products that offer better durability and resistance to cracking.
- Learning New Techniques: Stay updated on new repair techniques and tools that can make the process easier and more efficient.
- Professional Assessment: For extensive damage or recurring cracks, seek a professional assessment to determine the best course of action.
Regular maintenance and staying informed about new developments can help you keep your walls in excellent condition.
Cost or Price
The cost of fixing cracked drywall can vary depending on several factors:
- DIY vs. Professional: DIY repairs are more cost-effective, typically requiring an investment in tools and materials, which can range from $20 to $100. Professional repairs can cost significantly more, ranging from $150 to $500 or more, depending on the extent of the damage.
- Extent of Damage: Larger cracks or holes require more materials and time to repair, increasing the overall cost.
- Materials and Tools: Investing in quality tools and materials may have a higher upfront cost but can save money in the long run by providing better results and reducing the need for frequent repairs.
- Time Investment: While DIY repairs save money on labor, they do require a time investment. Consider the value of your time when deciding whether to tackle the project yourself or hire a professional.
Understanding the cost implications helps you make an informed decision about the best approach to fixing cracked drywall.