Encountering a jammed garbage disposal unit can disrupt your kitchen’s routine. Fortunately, with some basic tools and a bit of know-how, you can tackle this problem yourself. This blog outlines several DIY solutions to help you safely and efficiently fix your jammed garbage disposal, detailing the pros and cons of each approach, the tools you’ll need, and some handy tips and tricks.
Pros
Fixing a jammed garbage disposal yourself can be incredibly rewarding. It’s cost-effective since you can save on the expense of hiring a professional. Furthermore, addressing the issue immediately means you won’t have to deal with potentially worse problems in the future. Performing the repair also provides a great opportunity to learn more about how your disposal works, which can be beneficial for future maintenance.
Cons
DIY repairs carry some risks, especially if you are unfamiliar with mechanical repairs. There’s a possibility of damaging the unit further if not done correctly. Safety is another concern; it’s essential to ensure that the disposal is completely powered off before beginning any work. Without the proper tools or knowledge, what starts as a simple fix could turn into a complicated, frustrating process.
Recommended Tools for the Project
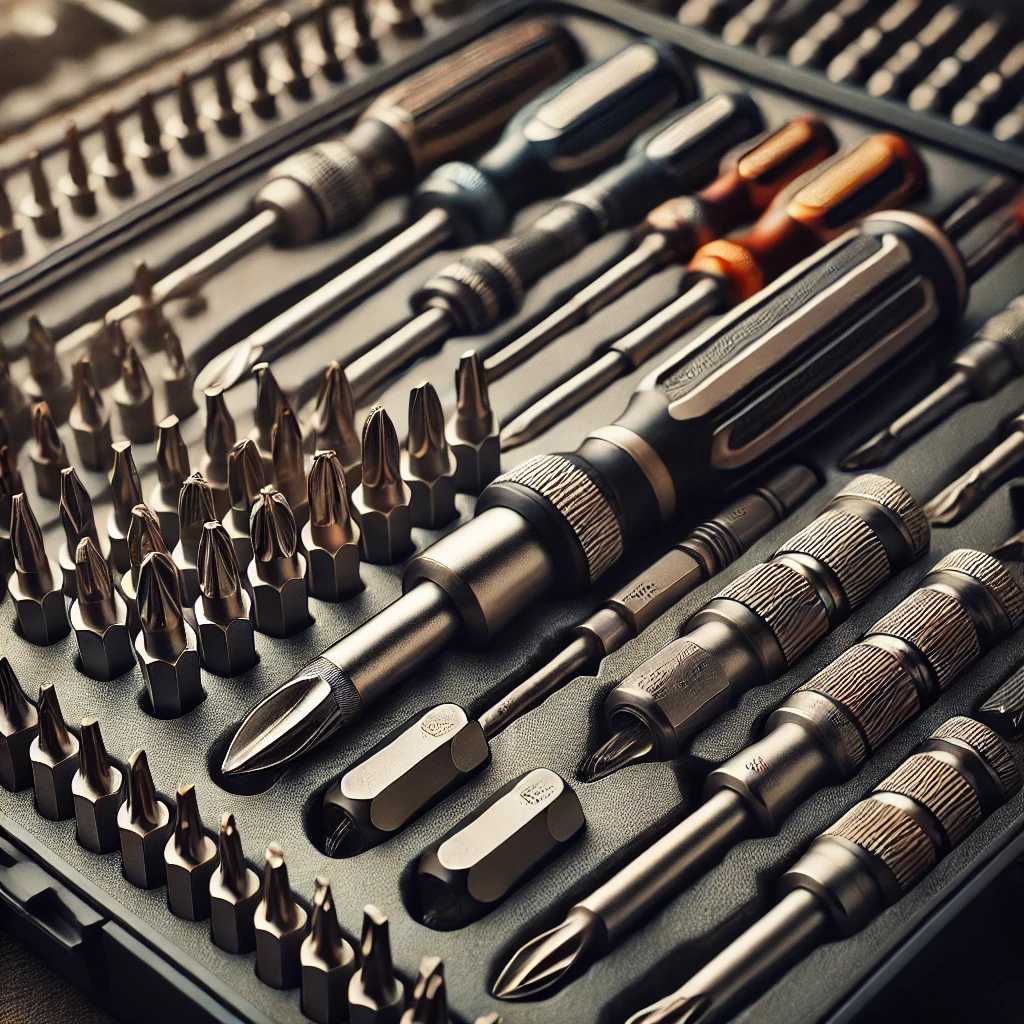
To effectively fix a jammed garbage disposal, you will need:
- Allen wrench – Most disposals come with an Allen wrench designed to fit the hole at the bottom of your unit.
- Pliers or tongs – Useful for removing any non-disposable items that might have fallen into the disposal.
- Flashlight – Helps you see inside the disposal for any hidden obstructions.
- Bucket – Handy for catching any water that may need to be drained from the trap.
- Voltage tester – Ensures that no power is running to the unit during repair.
Comparisons
When considering fixing a jammed garbage disposal, you might compare DIY efforts with professional services. DIY solutions are less costly and can be quick if you have the right tools and knowledge. However, professional plumbers bring expertise and can handle more complex issues that might arise, providing peace of mind with their workmanship.
Tips & Tricks
- Safety First: Always disconnect the power by unplugging the unit or turning off the breaker.
- Double-Check: Use a flashlight to look for obvious obstructions before reaching into the disposal.
- Gentle Motions: When using the Allen wrench, move it back and forth to gently loosen the impeller blades.
- Regular Cleaning: Prevent future jams by regularly cleaning your disposal with baking soda and vinegar.
- Preventive Maintenance: Avoid disposing of fibrous materials like celery or banana peels, which can easily cause clogs.
FAQs
What should I do first when my garbage disposal is jammed?
First, ensure the power is off. Use a flashlight to inspect the drain for visible objects that might be causing the jam. If you see an obstruction, use pliers or tongs to remove it.
Can I use chemical drain cleaners to fix a jam?
It’s not recommended to use chemical drain cleaners in a garbage disposal. These chemicals can damage the pipes and the disposal’s internal components.
How often should I clean my garbage disposal?
Regular cleaning can prevent clogging and prolong the life of your disposal. Cleaning once a month with natural cleaners like baking soda and vinegar is an effective routine.
Updates and Future Considerations
Staying updated on the latest disposal technologies and maintenance best practices can help you keep your unit running smoothly. Additionally, consider investing in newer models that come with advanced features such as auto-reverse to prevent future jams.
Cost Considerations
The cost of fixing a jammed garbage disposal DIY-style primarily involves purchasing tools if you don’t already have them. These tools are generally inexpensive and can be found at any hardware store. The long-term savings of handling it yourself can be substantial compared to hiring a plumber, who might charge anywhere from $70 to $400 depending on the complexity of the job.
Conclusion
Fixing a jammed garbage disposal is a feasible project for any DIY enthusiast. By following the guidelines provided, you can safely and effectively resolve issues, ensuring your disposal operates efficiently for years to come. Remember, regular maintenance and being mindful of what you dispose of can greatly reduce the chances of future jams.