Installing a tile backsplash in your kitchen not only enhances the aesthetic appeal but also boosts functionality by protecting walls from splatters and spills. This guide provides a detailed walkthrough of the installation process, equipped with essential tips and comparisons to ensure you get the best results.
Pros of Installing a Tile Backsplash
Installing a tile backsplash comes with numerous advantages:
- Enhanced Durability: Tiles are resistant to heat, moisture, and stains, making them ideal for kitchen environments.
- Increased Home Value: A well-installed tile backsplash can increase the resale value of your home.
- Easy Maintenance: Tiles are easy to clean; just a wipe down with a damp cloth can remove most stains.
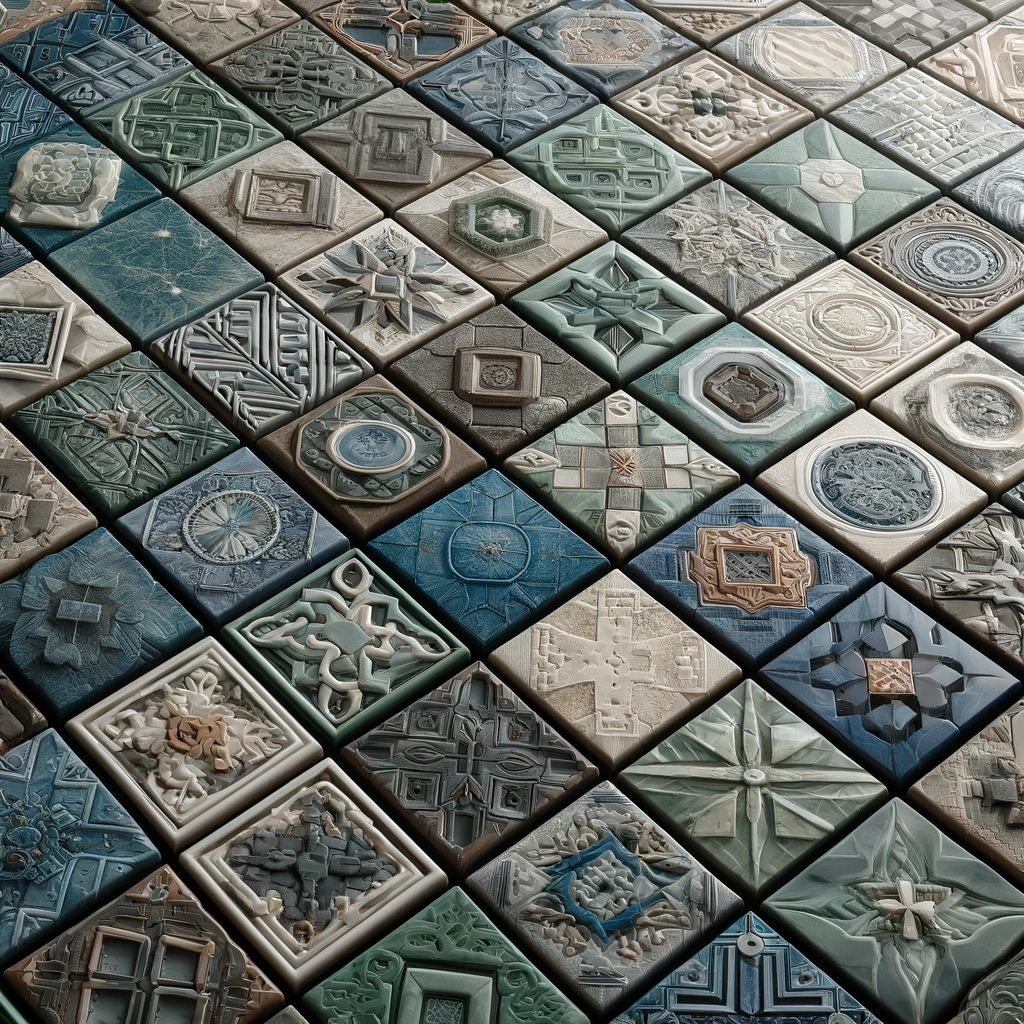
- Variety of Options: Tiles come in various colors, patterns, and materials, allowing customization to fit any decor.
- Protects Walls: A backsplash protects your kitchen walls against water damage and food splatters.
A tile backsplash is not just a practical addition to your kitchen but also a transformative element for your home’s aesthetics.
Cons of Installing a Tile Backsplash
While beneficial, there are several considerations to keep in mind:
- Upfront Cost: Depending on the tiles and complexity, the cost can be significant.
- Installation Complexity: Proper installation requires precision and skill, potentially necessitating professional help.
- Time-Consuming: The process can be lengthy, from preparing the wall to waiting for the adhesive and grout to set.
- Permanent Change: Once installed, changing a backsplash is not easy and requires removing the old tiles, which can damage the wall.
- Grout Maintenance: Grout lines may become discolored or moldy if not properly maintained.
Understanding these challenges can help you prepare adequately for your backsplash project.
Recommended Tools for the Project
To successfully install a tile backsplash, you’ll need the following tools:
- Tile Cutter: For precise cuts to fit tiles around corners and outlets.
- Notched Trowel: Used to apply adhesive evenly.
- Level: Ensures your tiles are aligned and level throughout installation.
- Tile Spacers: Maintain even spacing between tiles for uniform grout lines.
- Sponge and Bucket: For wiping off excess grout and keeping tiles clean during installation.
Having the right tools at hand can significantly simplify the installation process.
Comparisons
Tile Materials
- Ceramic vs. Porcelain: Ceramic tiles are less expensive and easier to cut, while porcelain tiles are more durable and water-resistant.
- Glass vs. Stone: Glass tiles offer a modern look and are stain-resistant, whereas stone tiles provide a natural aesthetic but require more maintenance.
Adhesive Types
- Thin-set Mortar vs. Mastic: Thin-set is ideal for high moisture areas like kitchens, whereas mastic is better for dry areas.
Choosing the right materials and adhesives is crucial for a durable and attractive backsplash.
Tips & Tricks
- Dry Layout: Arrange your tiles on the floor before installation to plan the layout and make necessary adjustments.
- Back Buttering: Apply adhesive to the backs of larger tiles to ensure a strong bond.
- Overlap Technique: Overlap tiles slightly at the edges to create seamless joints.
- Uniformity: Use a level frequently during installation to maintain even rows.
- Cleanup: Clean excess grout immediately to prevent it from setting on the surface of the tiles.
These tips can help streamline the installation process and achieve a professional finish.
FAQs
Q: How long does it take to install a tile backsplash? A: The time can vary based on the size of the kitchen and the complexity of the design, but generally, it takes 1-2 days after preparation.
Q: Can I install a tile backsplash over existing tiles? A: Yes, it is possible, but it requires thorough cleaning and sanding of the old tiles to ensure the adhesive sticks.
Q: What is the best way to cut tiles for a backsplash? A: Using a wet tile saw provides the cleanest cuts, especially for porcelain or glass tiles.
Addressing these common questions can help clarify the process for DIY enthusiasts.
Cost Considerations
The cost of installing a tile backsplash can range widely, from $5 to $50 per square foot, including materials and labor. Factors influencing the price include the type of tile, the complexity of the pattern, and whether you hire a professional or DIY.
Updates and Future Considerations
When planning a backsplash project, consider future trends and how they might influence your choices. For example, larger tiles and unusual shapes like hexagons are becoming popular and could provide a more modern look. Also, consider the potential need for updates or changes in the future.