Are you ready to transform your living space with a fresh coat of paint? DIY painting your walls like a pro can be a fulfilling and cost-effective way to update your home. Whether you’re looking to brighten up a single room or give your entire house a new look, this guide will provide you with all the essential information you need. From understanding the pros and cons of DIY painting to gathering the right tools and following a step-by-step process, we’ve got you covered. With the right techniques and a bit of patience, you can achieve a professional finish without the hefty price tag of hiring a painter. Let’s dive into the world of DIY wall painting and discover how you can make your home more beautiful, one brushstroke at a time.
Pros of Painting Your Walls Yourself
Painting your walls yourself can be a highly rewarding experience. Here are some of the key benefits:
- Cost Savings: One of the most significant advantages of DIY painting is the cost savings. Hiring professional painters can be expensive, while doing it yourself primarily costs the price of materials.
- Customization: DIY painting allows you to personalize your space to your exact tastes. You can choose your colors, finishes, and even create custom designs or patterns.
- Sense of Achievement: Completing a painting project on your own gives you a great sense of accomplishment. It’s rewarding to step back and admire your handiwork.
- Flexibility: When you paint your walls yourself, you can work on your own schedule. There’s no need to coordinate with a contractor’s availability.
- Learning Experience: DIY projects are excellent opportunities to learn new skills. Painting techniques can be applied to future projects around your home.
Cons of Painting Your Walls Yourself
Despite the many benefits, there are also some downsides to consider:
- Time-Consuming: Painting can be a lengthy process, especially if you have a large area to cover or need multiple coats of paint.
- Skill Level: Achieving a professional-looking finish can be challenging if you lack experience. Mistakes like uneven coverage or paint drips can detract from the final result.
- Preparation Work: Properly preparing the walls for painting involves cleaning, sanding, and priming, which can be tedious and time-consuming.
- Physical Demands: Painting is physically demanding work. It involves standing for long periods, climbing ladders, and repetitive motions, which can be tiring.
- Mess and Cleanup: Painting can be messy. Spills, drips, and splatters are common, and cleaning up afterward can be a hassle.
Recommended Tools for the Project
Having the right tools is essential for a successful DIY painting project. Here are some must-have items:
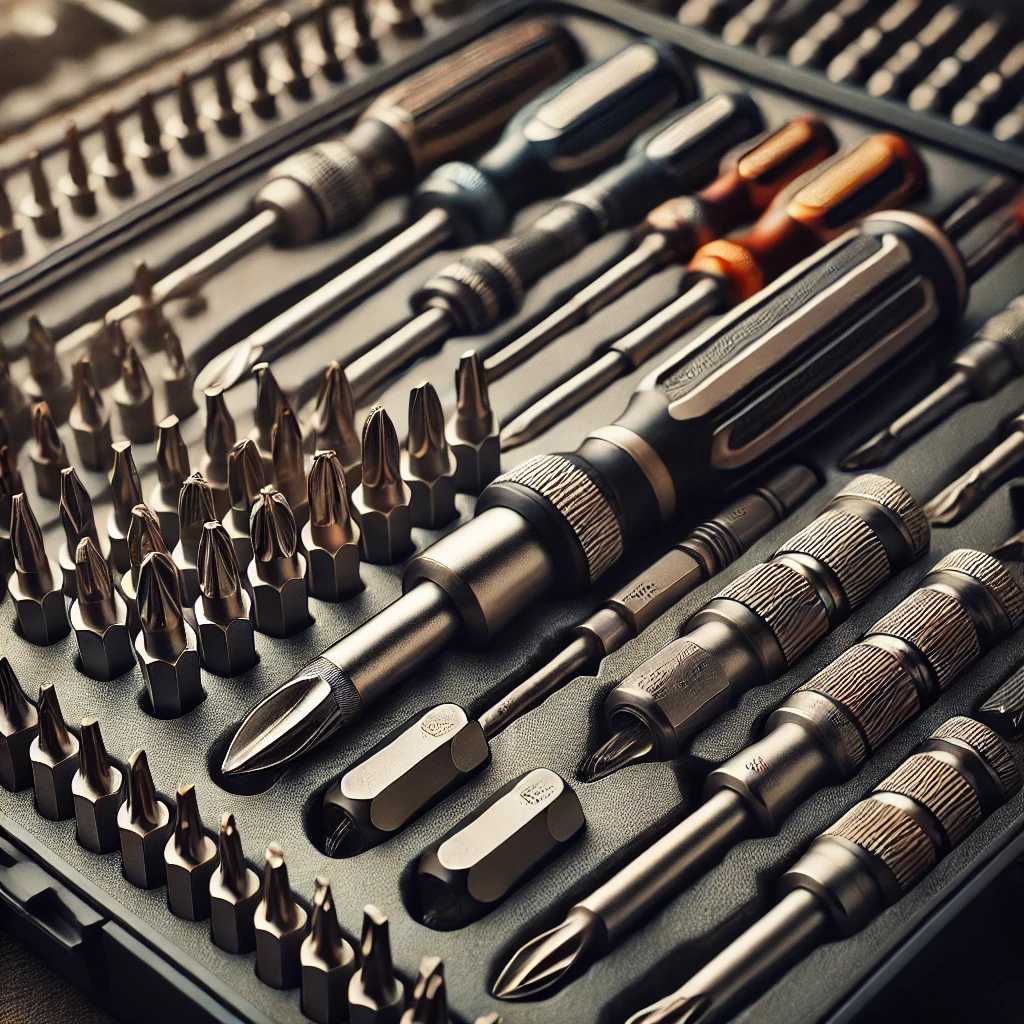
- Quality Paint Brushes and Rollers: Invest in high-quality brushes and rollers for smooth and even application.
- Painter’s Tape: Essential for protecting trim, ceilings, and other areas you don’t want to paint.
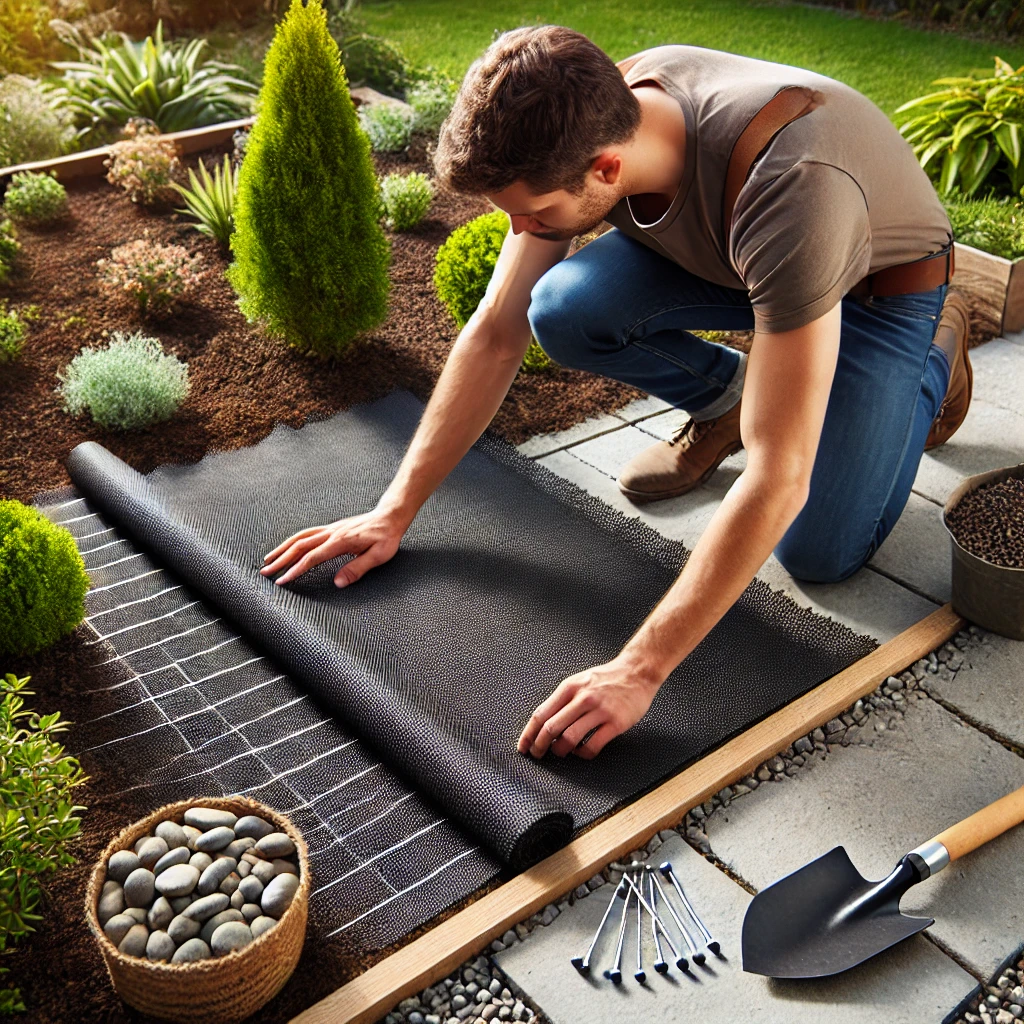
- Drop Cloths: Protect your floors and furniture from paint splatters with durable drop cloths.
- Sandpaper and Scrapers: For prepping your walls, you’ll need sandpaper and scrapers to smooth out surfaces and remove any loose paint.
- Paint Tray and Liners: A paint tray with disposable liners makes it easier to switch colors and clean up.
- Extension Poles: These are helpful for reaching high areas without the need for a ladder.
- Primer and Paint: Choose the right primer and paint for your walls. Consult with a paint specialist to find the best options for your needs.
- Caulking Gun: Useful for filling in any cracks or gaps before painting.
- Edging Tool: For clean and precise edges around trim and corners.
Necessary Steps (1-10)
Follow these steps to ensure a professional finish when painting your walls:
- Choose Your Paint: Select the right paint for your project. Consider the room’s function and the desired finish.
- Gather Your Supplies: Make sure you have all the necessary tools and materials before you start.
- Prepare the Room: Remove furniture, cover floors with drop cloths, and tape off areas you don’t want to paint.
- Clean the Walls: Wipe down walls to remove dust and grime. Use a mild detergent if necessary.
- Repair Any Damage: Fill holes and cracks with spackle or caulk. Sand smooth once dry.
- Apply Primer: A primer helps the paint adhere better and provides a more even finish. Let it dry completely.
- Cut in Edges: Use a brush to paint around edges, trim, and corners where a roller can’t reach.
- Roll on Paint: Use a roller to apply paint to the larger areas. Work in small sections, applying even pressure.
- Apply Second Coat: If needed, apply a second coat of paint once the first coat is dry.
- Clean Up: Remove tape, clean brushes and rollers, and properly dispose of any used materials.
Comparisons
When deciding whether to paint your walls yourself or hire a professional, consider the following comparisons:
- Cost: DIY painting is significantly cheaper. Professional painters charge for labor, which can add up quickly.
- Time: Professional painters can complete the job faster due to their experience and efficiency. DIY projects can take longer, especially for novices.
- Quality: Professionals typically deliver a higher-quality finish. DIY results can vary based on skill level.
- Convenience: Hiring a professional is more convenient, especially for large projects. DIY requires a significant time commitment and effort.
- Customization: DIY allows for more personalized touches and creative freedom. Professionals may have limitations based on your requests.
Tips & Tricks
To achieve the best results, keep these tips and tricks in mind:
- Test Colors: Always test paint colors on a small section of the wall before committing. Colors can look different in various lighting conditions.
- Use the Right Paint: Choose the appropriate type of paint for the room. For example, use moisture-resistant paint in bathrooms.
- Work Top to Bottom: Start painting from the top of the wall and work your way down to avoid drips and streaks.
- Maintain Wet Edges: To avoid lap marks, keep a wet edge while painting. This means you should overlap the previous stroke before it dries.
- Thin Coats: Apply multiple thin coats of paint rather than one thick coat. This ensures a smoother finish and better coverage.
- Ventilate: Ensure the room is well-ventilated to help the paint dry faster and reduce fumes.
- Take Breaks: Painting can be tiring. Take regular breaks to rest and avoid mistakes caused by fatigue.
- Use Quality Materials: Don’t skimp on materials. High-quality paint and tools make a significant difference in the final result.
- Plan for Cleanup: Have a plan for cleaning up spills and splatters as you go to minimize mess.
FAQs
What type of paint should I use for my walls?
The type of paint you use depends on the room. For high-traffic areas, use a durable, washable paint like satin or semi-gloss. For low-traffic areas, matte or eggshell finishes are suitable.
How many coats of paint do I need?
Typically, two coats of paint are needed for even coverage and a professional finish. However, the number of coats can vary depending on the color and quality of the paint.
Can I paint over old paint?
Yes, you can paint over old paint, but proper preparation is crucial. Clean the walls, sand any rough areas, and apply a primer before painting.
How long does it take for paint to dry?
Drying time varies based on the type of paint and environmental conditions. Generally, paint is dry to the touch in a few hours but may take up to 24 hours to fully cure.
How do I avoid brush marks and roller lines?
Use high-quality brushes and rollers, and apply paint in thin, even coats. Maintaining a wet edge and working quickly can also help prevent brush marks and roller lines.
Updates and Future Considerations
Painting technology and trends are always evolving. Keep an eye out for new developments, such as:
- Eco-Friendly Paints: Advances in eco-friendly paint options are making it easier to choose sustainable products.
- Innovative Tools: New painting tools and gadgets can make DIY painting projects easier and more efficient.
- Color Trends: Stay updated with the latest color trends to keep your home looking modern and stylish.
- Smart Paints: Technology is even making its way into paint, with smart paints that can change color or even act as a whiteboard.
- Virtual Tools: Use virtual painting tools and apps to visualize different colors and designs in your space before committing.
Cost or Price
The cost of a DIY painting project can vary widely based on several factors:
- Room Size: Larger rooms require more paint and materials, increasing the overall cost.
- Paint Quality: High-quality paint is more expensive but provides better coverage and durability.
- Tools and Supplies: Investing in quality brushes, rollers, and other tools can add to the initial cost but results in a better finish.
- Additional Materials: Don’t forget to factor in the cost of primer, painter’s tape, drop cloths, and other necessary supplies.
On average, expect to spend between $200 to $600 on a DIY painting project, depending on these variables. While this is significantly less than hiring professionals, remember to consider the value of your time and effort.
Detailed Cost Breakdown:
- Paint: Depending on the brand and finish, a gallon of paint can range from $15 to $50. For an average-sized room, you might need 2-3 gallons.
- Primer: A good primer is essential for preparing your walls. Expect to spend around $20-$40 per gallon.
- Brushes and Rollers: High-quality brushes and rollers can range from $10 to $30 each. Having a few different sizes and types will be beneficial.
- Painter’s Tape: A roll of painter’s tape typically costs around $5-$10, and you might need several rolls for a large project.
- Drop Cloths: Protect your floors and furniture with drop cloths, which can cost between $10 and $30 each.
- Sandpaper and Scrapers: These are relatively inexpensive, usually costing around $5-$15 for a pack of sandpaper or a good scraper.
- Other Supplies: Don’t forget about additional supplies like paint trays, liners, and extension poles, which can add another $20-$50 to your total cost.
Considering these factors, painting your walls like a pro can be a budget-friendly option while allowing you to customize your space to your liking.