When considering giving your garage a fresh look, painting the walls is a fantastic way to breathe new life into the space. However, proper preparation is crucial to achieving a professional-quality finish. This blog will guide you through the essential steps and considerations for prepping garage walls for painting, from the tools you’ll need to the common pitfalls to avoid.
Pros of Proper Wall Preparation:
- Enhanced Paint Adhesion: Properly prepped walls ensure that paint adheres better and lasts longer.
- Smooth Finish: Preparation helps eliminate imperfections, leading to a smoother finish.
- Cost-Effective: By preventing issues like peeling and cracking, you save money on future repairs.
- Increased Property Value: A well-done paint job can increase the overall value of your home.
- Personal Satisfaction: Completing this project with thorough preparation can be highly satisfying.
Preparing your garage walls for painting can turn a bland space into a vibrant area, enhancing both its aesthetics and functionality. With the right approach, the paint will adhere better, last longer, and look more professional.
Cons of Inadequate Preparation:
- Peeling Paint: Without proper prep, paint may peel off prematurely.
- Visible Imperfections: Bumps and cracks can show through the paint if not properly addressed.
- Additional Costs: Failing to prep might lead to higher costs due to necessary redo’s.
- Time-Consuming: Poor preparation can extend the overall project time due to corrections.
- Reduced Effectiveness: The protective qualities of paint may be compromised.
Skipping the prep work can lead to a host of problems that might require costly and time-consuming fixes. Proper preparation is the backbone of any successful painting project.
Recommended Tools for the Project:
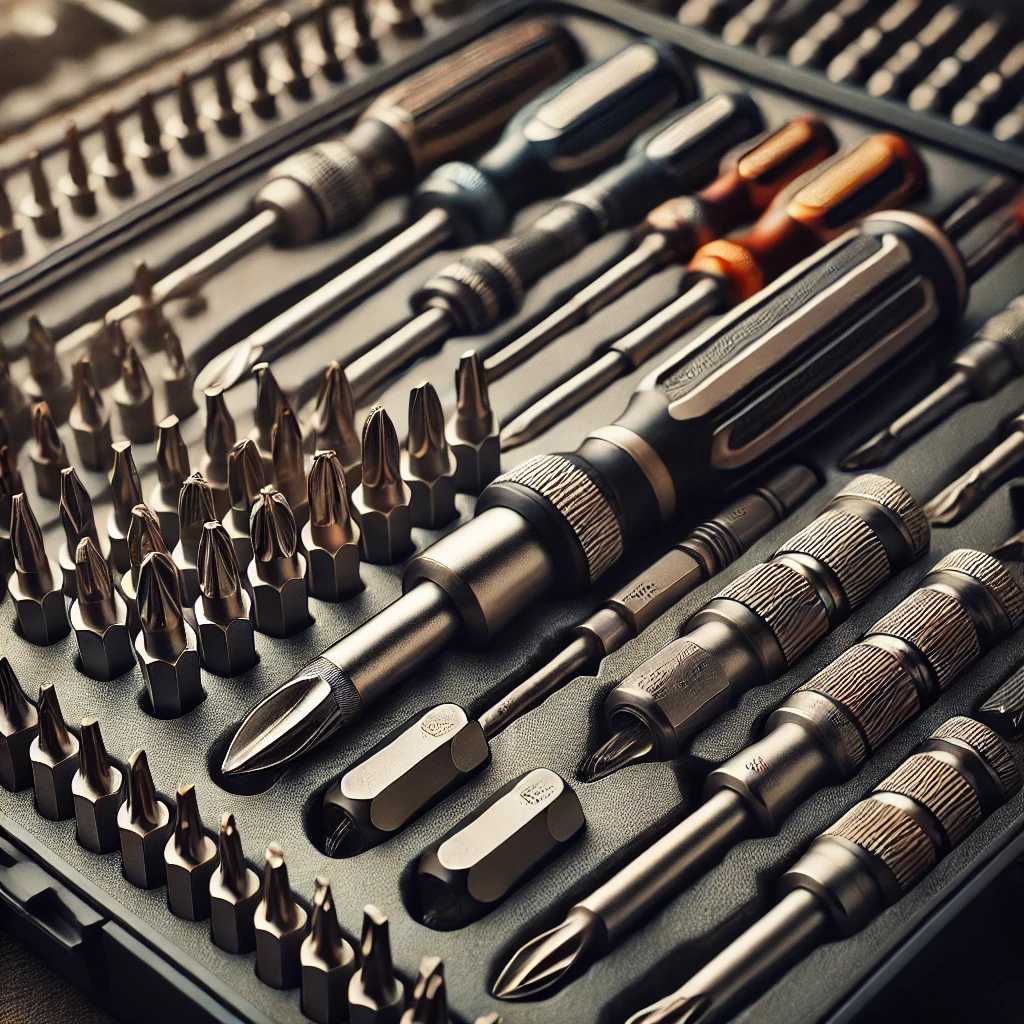
- Sandpaper/Sanding Block: For smoothing rough surfaces.
- Painter’s Tape: Essential for protecting edges and trim.
- Drop Cloths: To protect floors and furniture from paint splatters.
- Primer: For sealing and providing a good base for the topcoat.
- Paintbrushes and Rollers: For applying primer and paint.
These tools are indispensable for ensuring that your garage walls are properly prepared and painted, leading to the best possible outcome.
Comparisons:
Primer Types: Oil-based vs. Water-based
- Oil-Based Primer: Better for high moisture areas but has a strong odor.
- Water-Based Primer: Easier to clean up and faster drying, but not as moisture-resistant.
Choosing the right type of primer can significantly affect the durability and finish of your paint job.
Tips & Tricks:
- Clean Thoroughly: Remove all dust and grease from walls before painting.
- Repair Damages: Fill holes and cracks with filler before sanding smooth.
- Sanding: Sand the walls to create a smooth surface for the paint to adhere.
- Taping: Use quality painter’s tape to protect areas you don’t want painted.
- Primer Application: Apply a coat of primer to ensure paint adheres well and lasts longer.
These tips are crucial for achieving a professional-quality finish when painting your garage walls.
FAQs:
Q: How long should I let the primer dry before painting? A: It’s best to allow the primer to dry completely, which can take anywhere from 1 to 3 hours, depending on the brand and environmental conditions.
Q: Can I use exterior paint on garage walls? A: Yes, exterior paint can be used on garage walls and is often recommended for its durability and resistance to moisture.
Q: What is the best way to choose a paint color? A: Consider the lighting in your garage as well as how the color complements your home’s overall aesthetic.
Q: Should I paint the ceiling of the garage as well? A: Painting the ceiling can help reflect more light and make the space appear larger and cleaner.
Updates and Future Considerations:
As paint technology advances, consider eco-friendly and more durable options that might come available. Keeping up with these updates can provide better results and more sustainable choices for your projects.
Cost Considerations:
The cost of prepping and painting garage walls can vary widely, typically ranging from $200 to $800, depending on the size of the garage and the quality of materials used. Investing in high-quality tools and paint can initially be more expensive but often leads to better longevity and fewer touch-ups.
By following the outlined steps and considering these tips, your garage wall painting project will be set for success, providing a durable and attractive finish.